This procedure is valid for any system using the CUPS printing system (GNU/Linux, OpenBSD, FreeBSD, OSX, OpenIndiana, etc…)
You should first download the myPrint printers PPD files. They are required in this tutorial.
Mac OSX users :
We recommend to use our OSX auto-install script instead of this tutorial. The script will install the drivers by itself and configure the printers.
If you’re using Fedora (24) :
You cannot access immediately to the CUPS administration. There are two solutions to fix this problem :
- Add your user (from your computer) in the ‘sys’ group, for example with this command :
usermod -a -G sys <session_username>
- Add the ‘wheel’ group in the groups who are allowed to administrate CUPS: you can modify the file /etc/cups/cups-files.conf by adding ” wheel” at the end of the line “SystemGroup sys root”. You can do this automatically with this command (Fedora 24) :
sudo sed -i '/SystemGroup sys root$/ s/$/ wheel/' /etc/cups/cups-files.conf

sudo systemctl restart cups
- In a web browser, open the web configuration interface http://localhost:631/
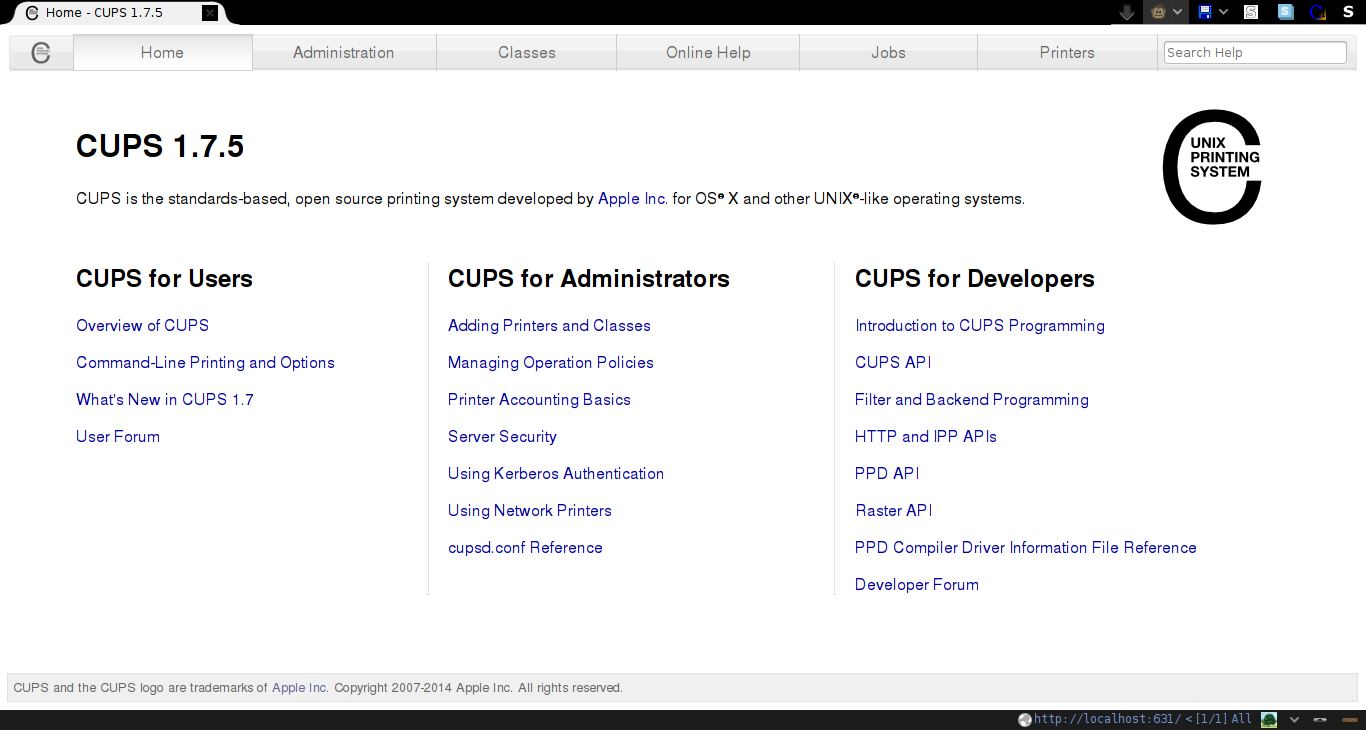 – If the page is inaccessible, make sure that CUPS is running and that the web configuration interface is accessible:
- For the distribution using systemd: sudo systemctl start cups
- For the distribution using sysvinit: sudo /etc/init.d/cups startsudo /etc/init.d/cups start
- For OSX: sudo cupsctl WebInterface=yes
In case of doubt, check your system documentation about starting services.
- Click on ‘Administration’
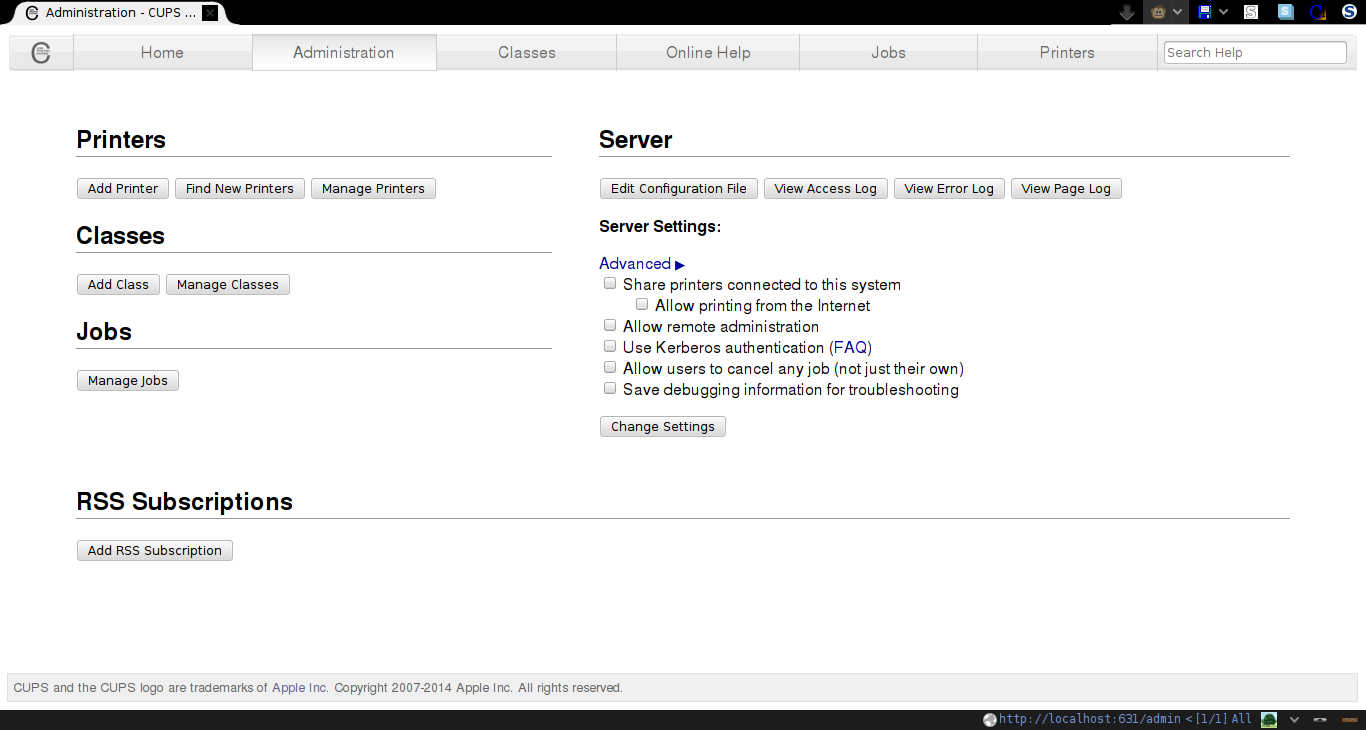
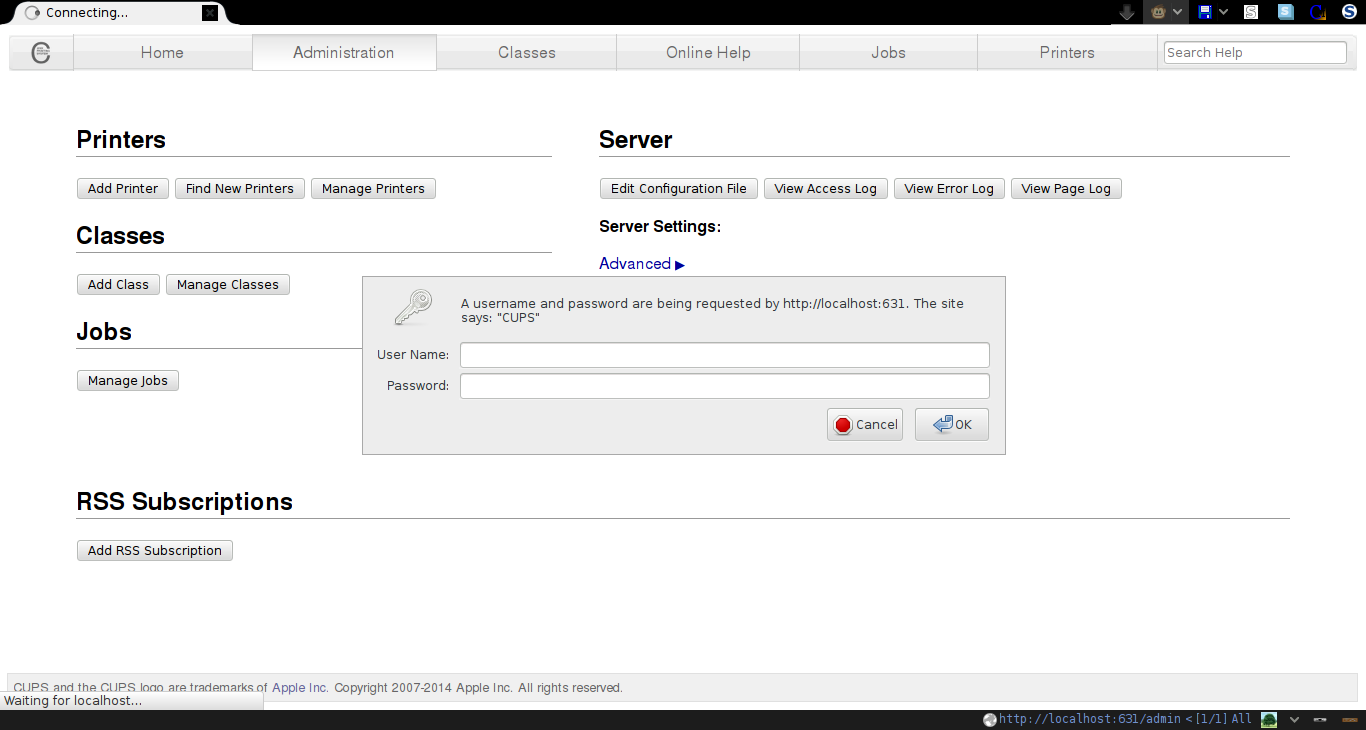
- Click on “Add printer” and log in with the username and password from your account on your computer.- In case of an error, but if the password is correct, make sure that you are part of the “lpadmin” group (In case of doubt, check your distribution documentation about adding a user in a group.). On some systems, it is also possible to log in with the “root” account.
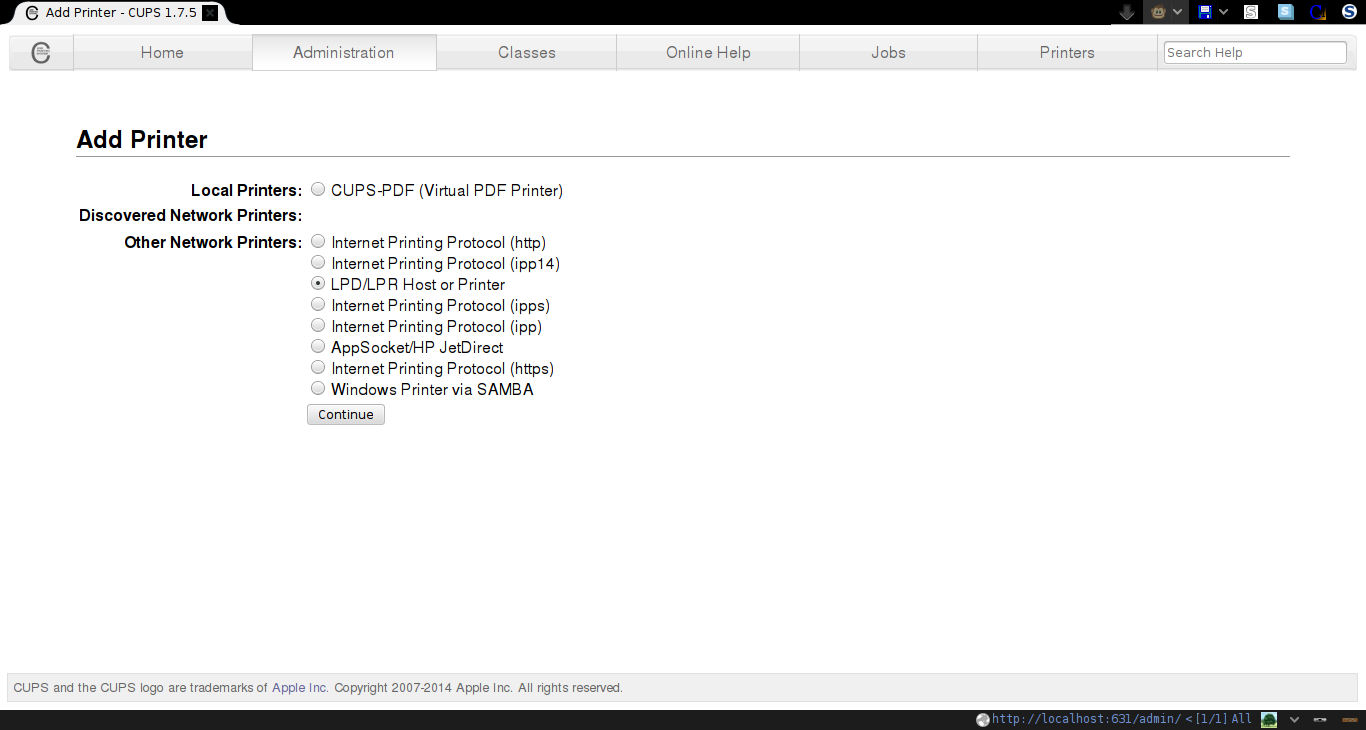
- Choose “LPD/LPR Host or Printer” and click on “Continue”
- Enter the connexion URL and replace “gaspar” by your Gaspar username and click on “Continue”
– For the black and white printing queue: lpd://[email protected]/SecurePrint-BW
– For the color printing queue: lpd://[email protected]/SecurePrint-Color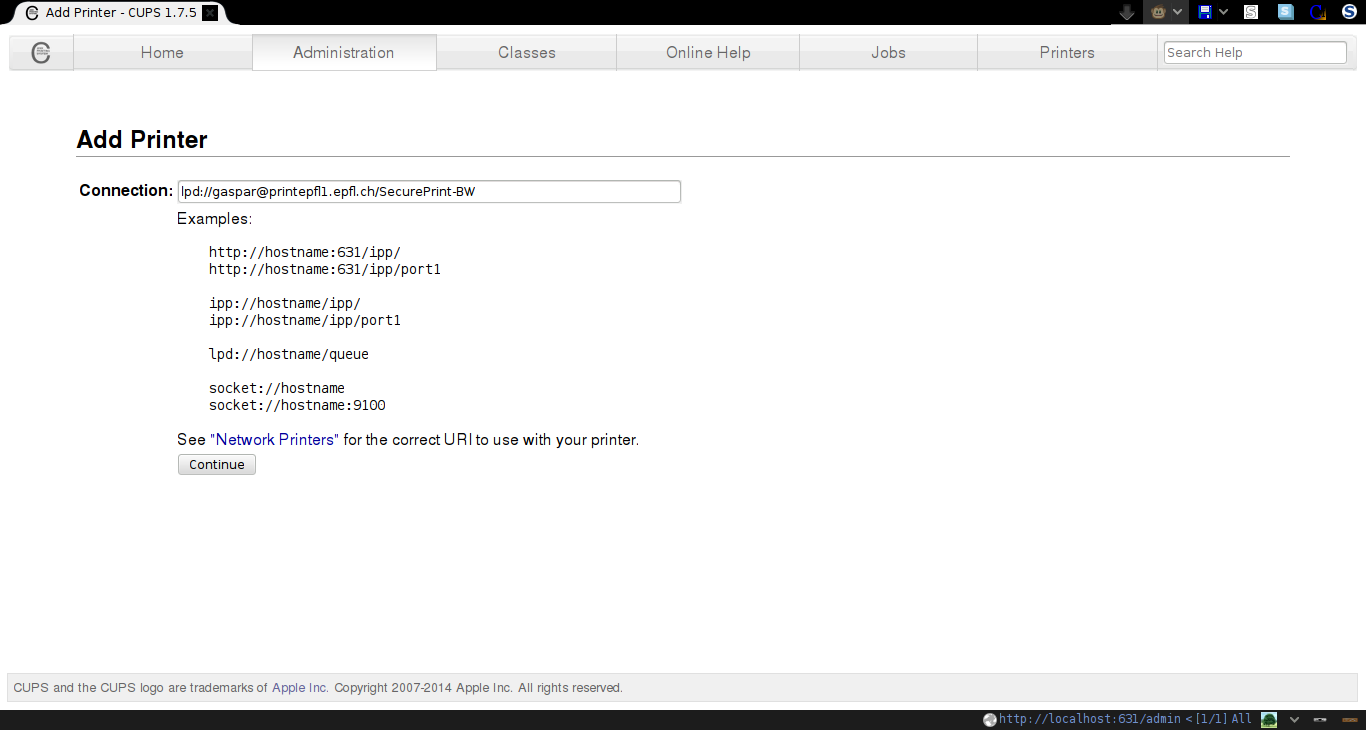
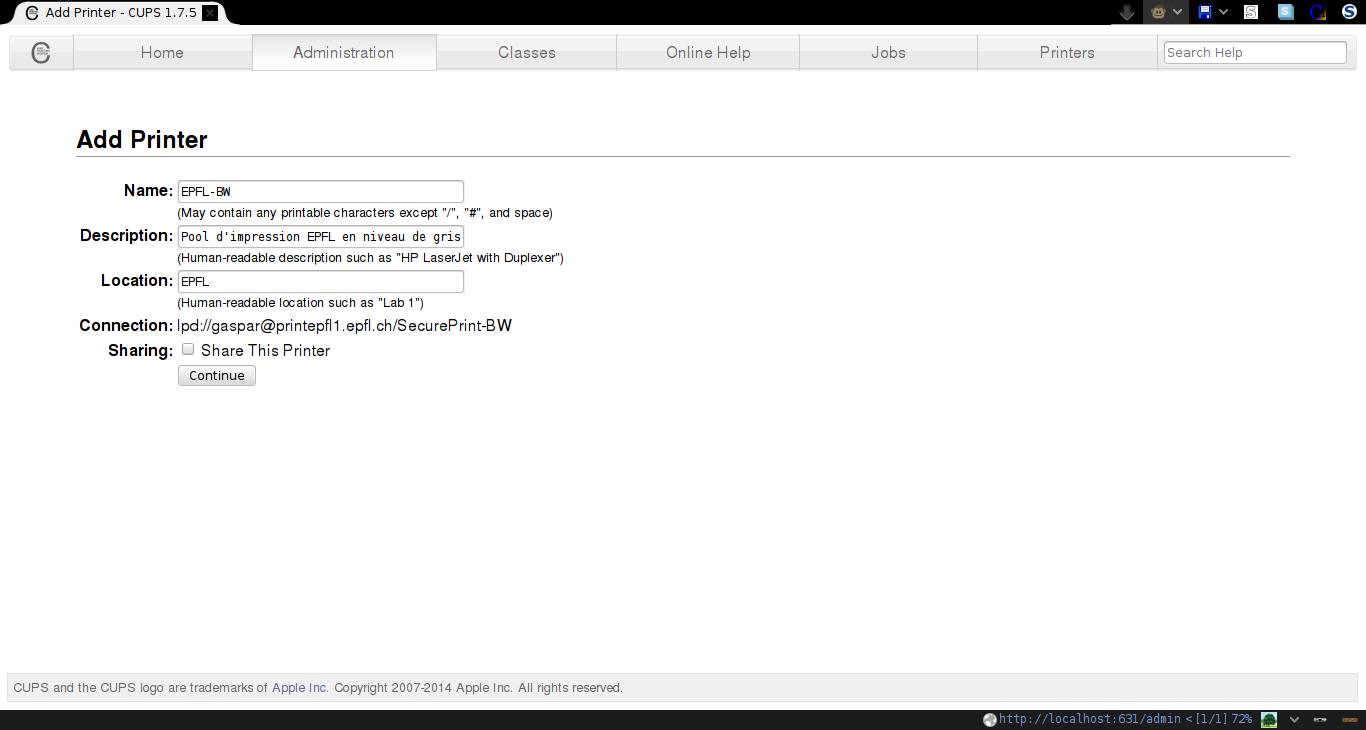
- Enter details about the new printer and click on “Continue”
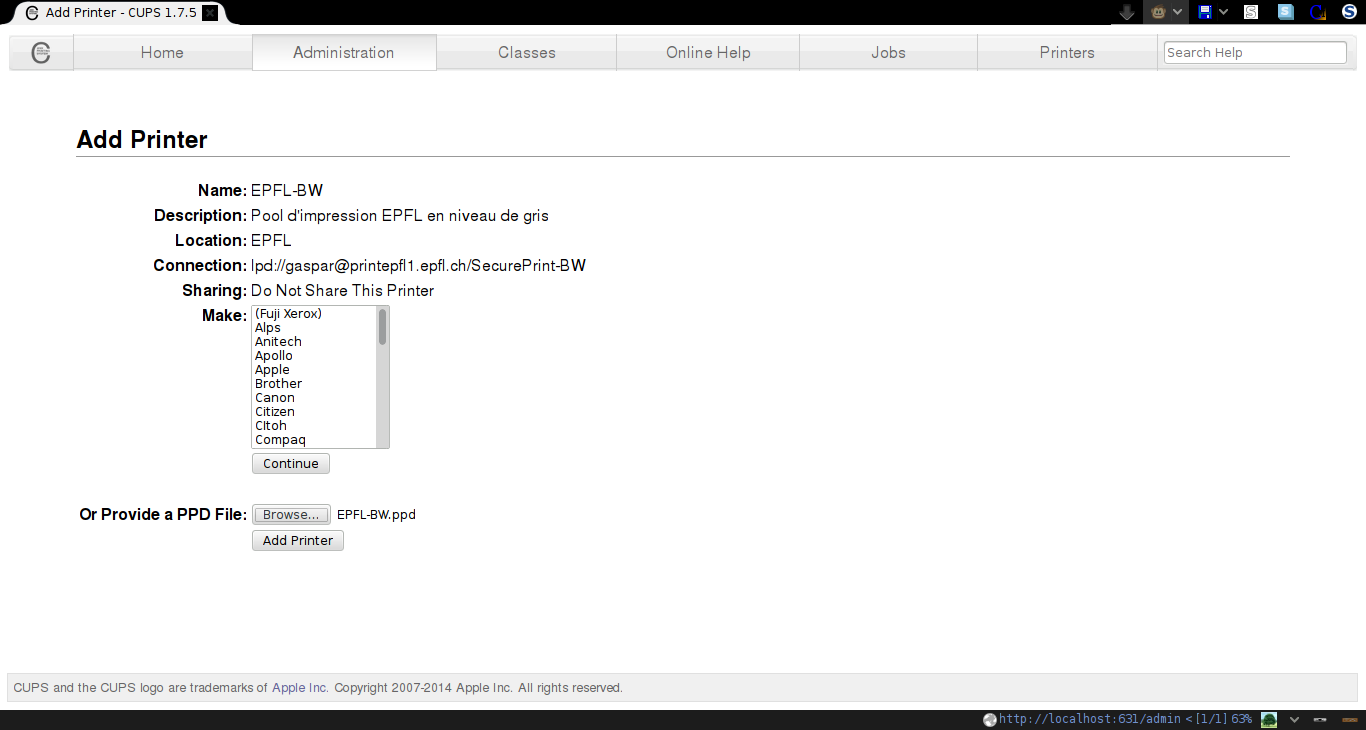
- Click on “Browse…” next to “Or Provide a PPD File” and choose the PPD file corresponding to the queue that you are installing. Click on “Add Printer”
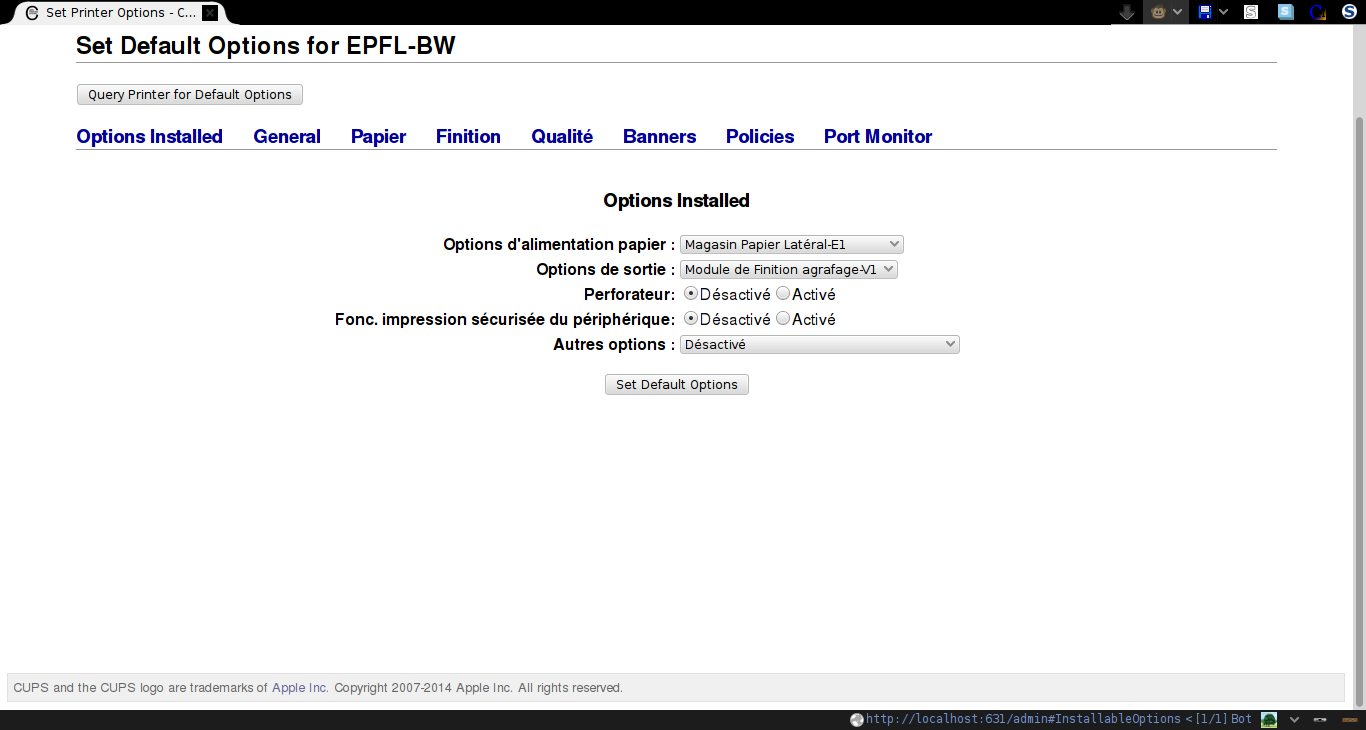
- Click on “Set Default Options”
– The PPD provided by myPrint already contains the right options. Changing these options can prevent your system from printing accurately.
- Wait a little bit, and you will be redirected on the page of the new printer.
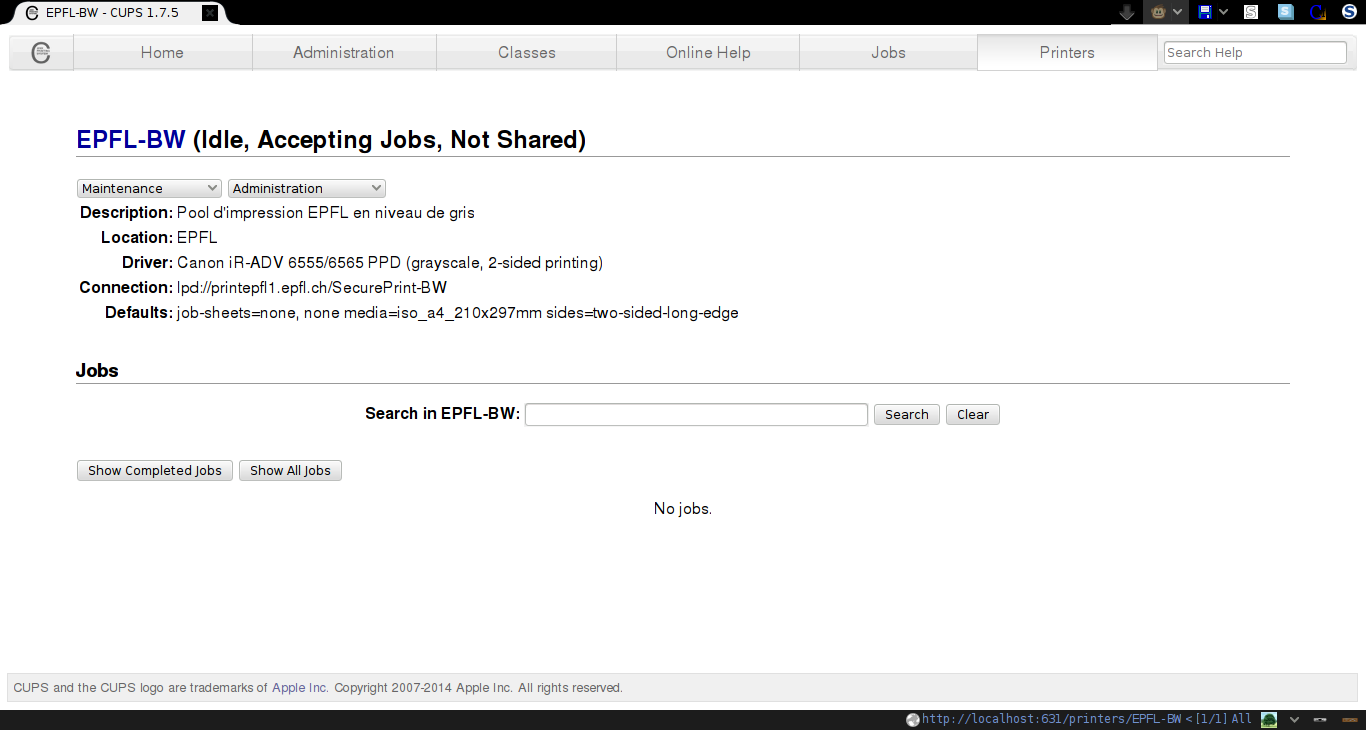
You can now print by selecting this printer from any software on your computer. You can also print from the command line with `lp -d EPFL-BW document.pdf` where EPFL-BW is the name entered at step 6, which is also visible on the page about the printer (step 9).