Be careful two essential points to remember:
- you must only accredit people whose identity you are sure of. Please check and compare the photo of the identity documents with the person you are accrediting.
- your unit is responsible for the actions of this person. Therefore, it must take the usual precautions (NDA, contract) in order to be able to turn against the person or company that employs it if necessary.
EPFL provides you with a document template: Additional rules for external beneficiaries of access to the EPFL information system (English version). This document contains two variants that correspond either to the case of a direct relationship between EPFL and the person, or an indirect relationship through a service company.
This document is kept in the unit and will be presented in the event of a dispute.
If the person you wish to accredit is present in Accred (otherwise, go to the “create a person” page), then:
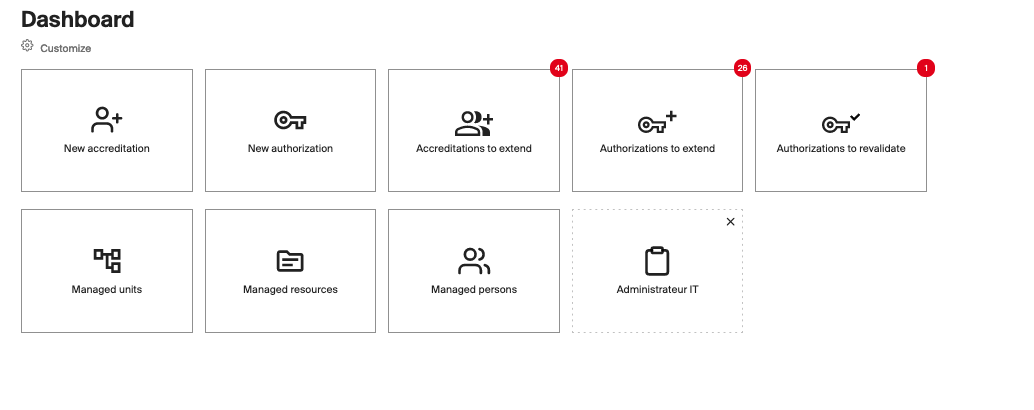
1) In the home page of Accred, click the first button “New accreditation”
2) In the area of the person to be accredited, enter the person’s first and last name in the Search field. If several people match the search criteria, you select the right person from the list provided
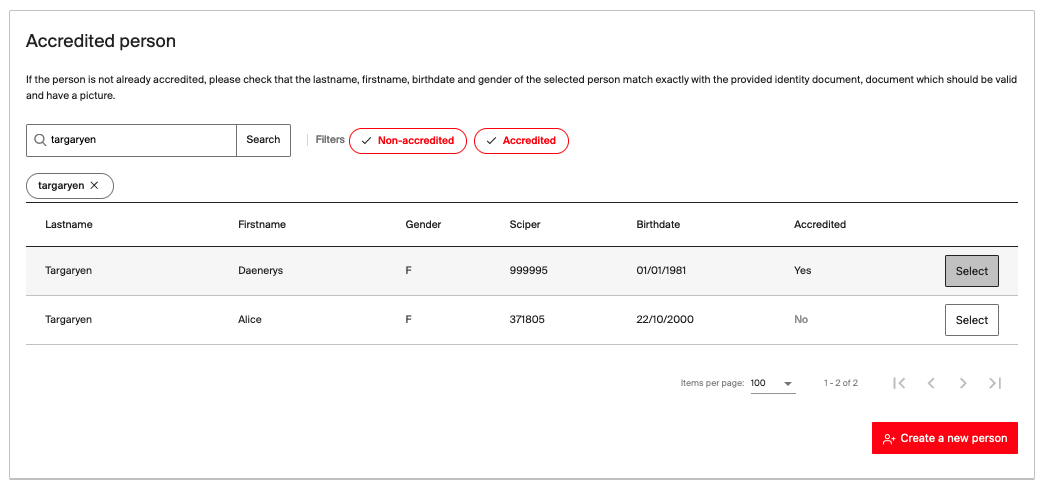
3) The chosen person then appears in the area of the person to be accredited

4) In the Unit area, enter the name of the unit where the person will be accredited
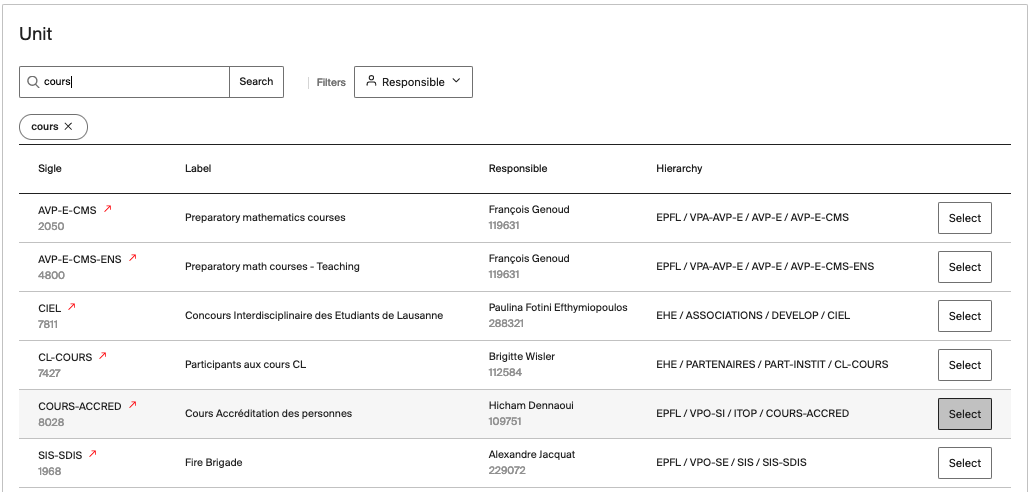
and select the desired unit if several answers are proposed
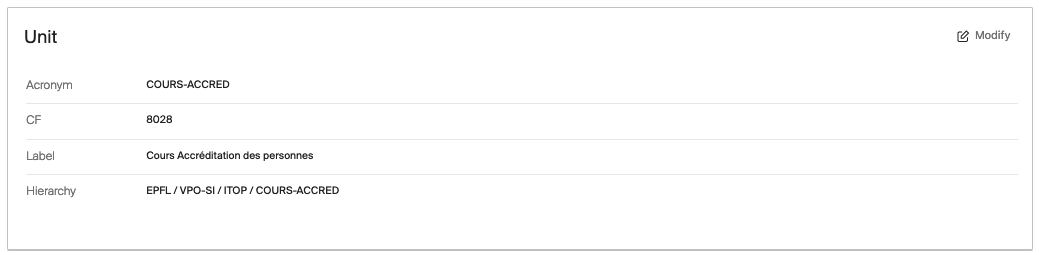
5) The chosen unit appears in the area
6) The following step allows you to provide the information of the accreditation profile:
- The status;
- Possibly the class;
- the Start Date;
- The end date that cannot be beyond one year from the start date;

Once the profile is completed, click on Next Step
7) The next step determines the function of the person in the unit. A search engine allows you to navigate the list

8) The next step allows you to define the basic authorizations of the person that are related to their accreditation, please consult the page dedicated to this important step.
9) The last step allows you to finalize the accreditation by providing a comment and possibly the private contact email address if the person does not yet have a Gaspar account. If this field is filled in, an email will be automatically sent to the person to allow them to initialize their password themselves
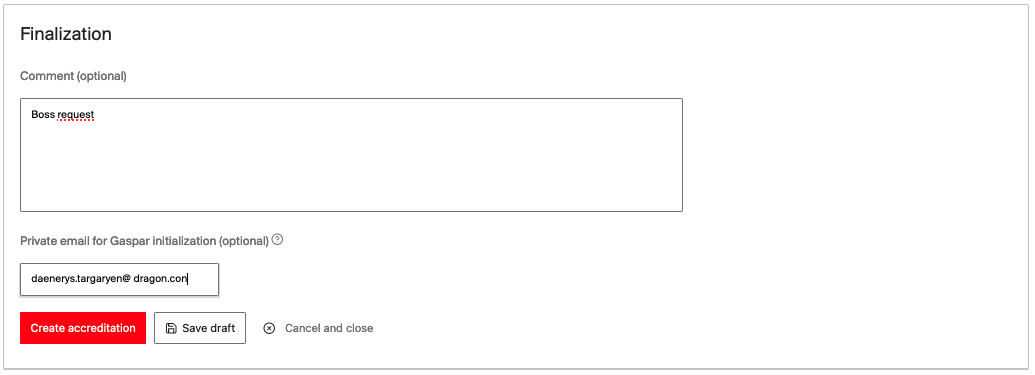
To finish, click on Create Accreditation.
You can also save the accreditation in draft form.