Since the last CUPS update,
Mac’s PPD is no longer compatible;
it is therefore necessary to use the specific Canon driver
Steps:
- Driver download
- Extract and run the installer
- Printer Setup
- Stop CUPS
- Edit and modify the CUPS configuration file
- Restart CUPS
- Configure Printer Options in CUPS
Step 1: Driver download
Click on this link
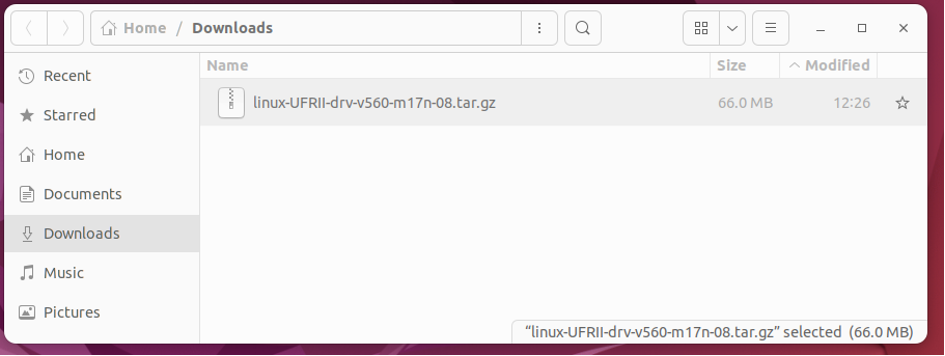
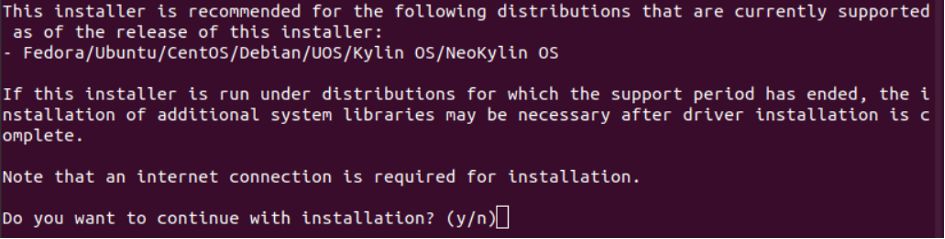
Step 2: Extract and run the installer


tar xvzf linux-UFRII-drv-v560-m17n-08.tar.gz
cd linux-UFRII-drv-v560-m17n/
sudo ./install.sh
y
Step 3: Printer Setup
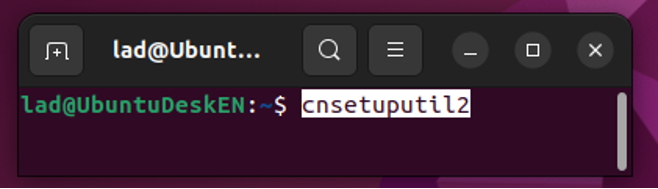
Execute this command :
cnsetuputil2
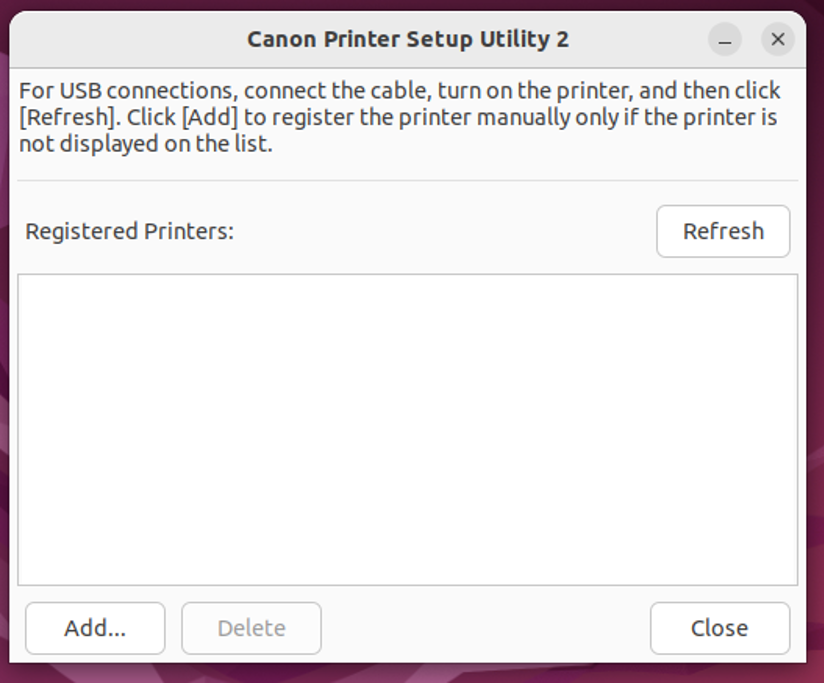 Click on “Add“
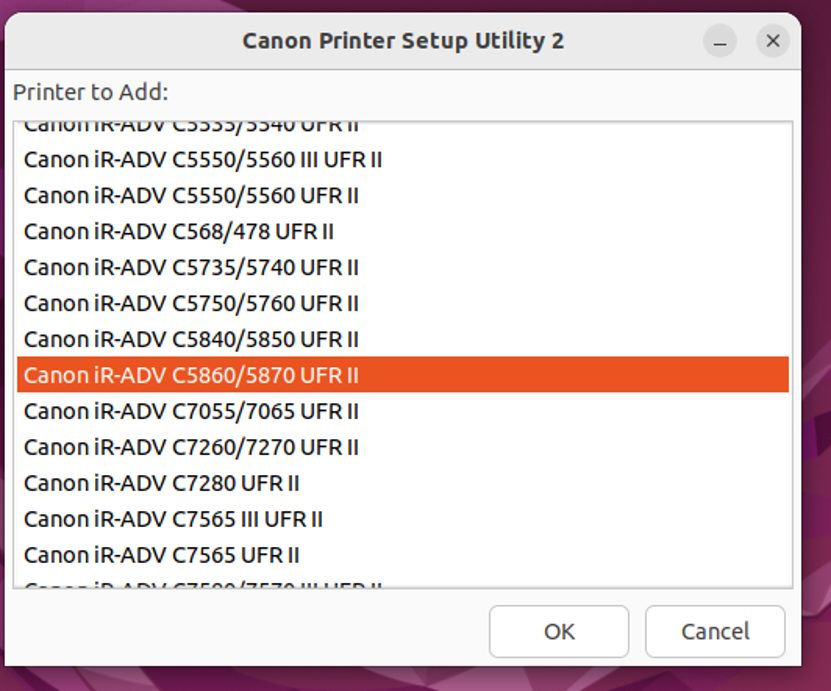
Select « Canon IR-ADV C5860/5870 UFR II » and then click on « Ok »
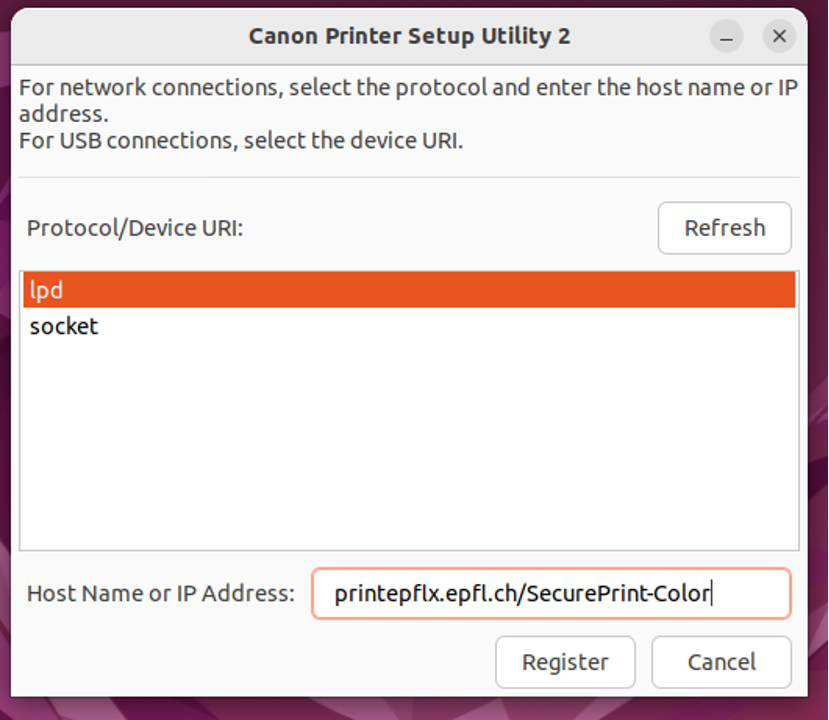
Select « lpd » then select the print queue following your status:
printepflX.epfl.ch/SecurePrint-Color
- printEPFL1 : access to the students deserved pool (french).
- printEPFL2 : access to the co-workers deserved pool (french)
- printEPFL4 : access to the students deserved pool (english).
- printEPFL5 : access to the co-workers deserved pool (english).
then click on « Register »
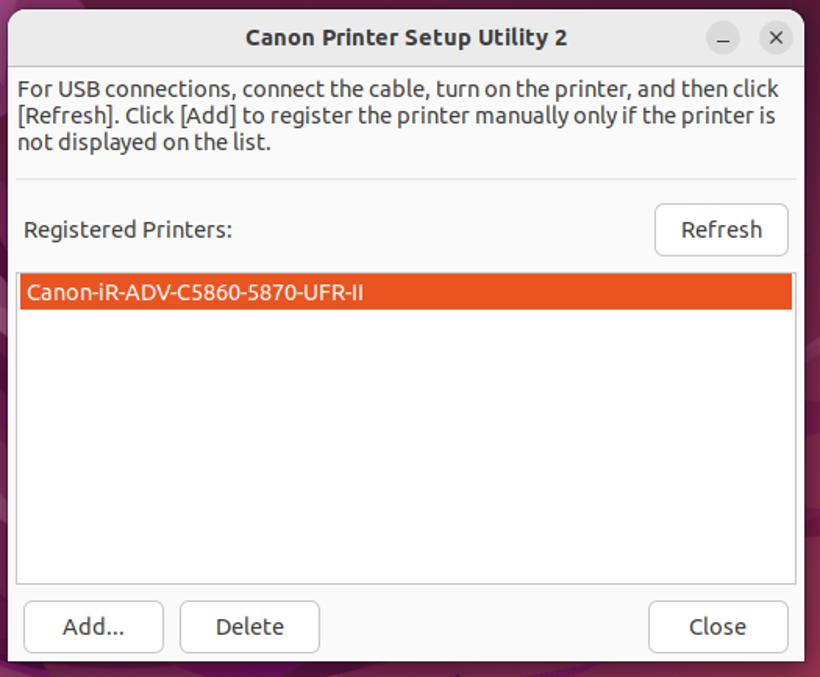 Click on “Close“
Step 4: Stop CUPS

Stop CUPS services:
sudo systemctl stop cups
Step 5: Edit and modify the CUPS configuration file

- Edit the config file :
sudo nano /etc/cups/printers.conf

- Modify input:
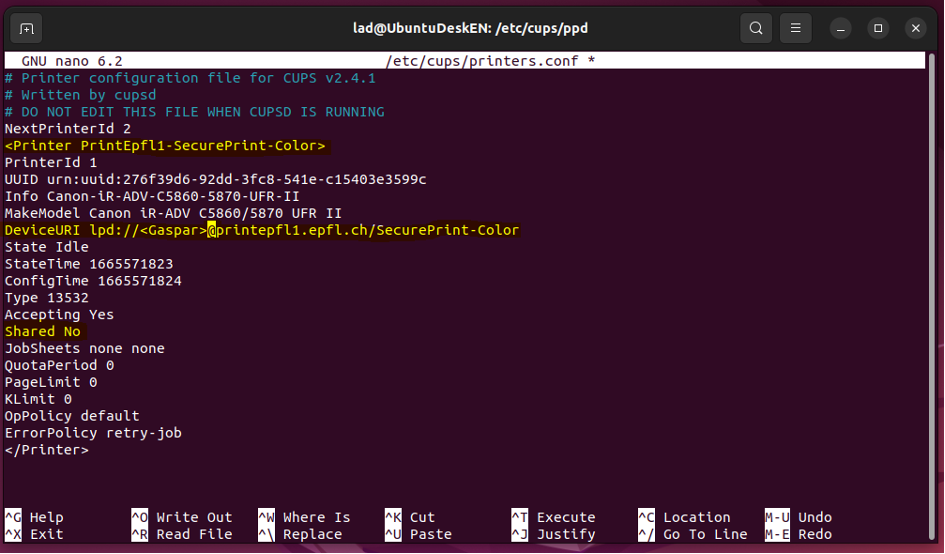
| Before | After |
| <Printer Canon-iR-ADV-C5860-5870-UFR-II> | <Printer PrintEpflX-SecurePrint-Color> |
| DeviceURI lpd://printepflX.epfl.ch/SecurePrint-Color | DeviceURI lpd://<Gaspar>@printepflX.epfl.ch/SecurePrint-Color |
| Shared Yes | Shared No |
Attention, the name of the print queue must be used for the name of de PPD (Keys sensitive) and it must be unique.
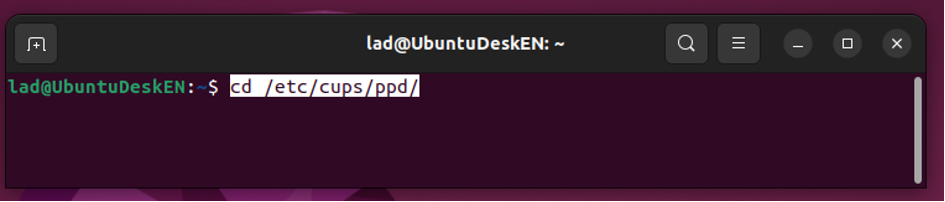
- Enter in the PPD folder :
cd /etc/cups/ppd/

- Copy the PPD from Canon and name it with the name of the Printer entry that you renamed in the printers.conf file, attention the name is Keys sensitive
sudo cp Canon-iR-ADV-C5860-5870-UFR-II.ppd PrintEpflX-SecurePrint-Color.ppd
Step 6: Restart CUPS
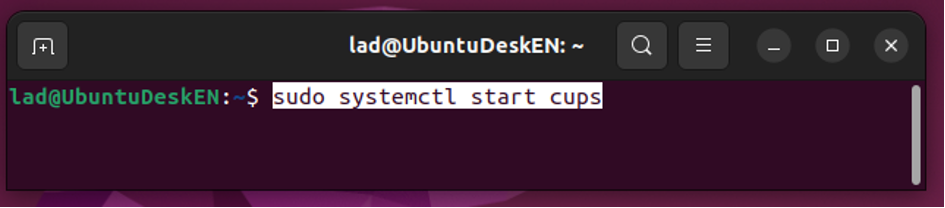
Restart Cups :
sudo systemctl start cups
Step 7: Configure Printer Options in CUPS
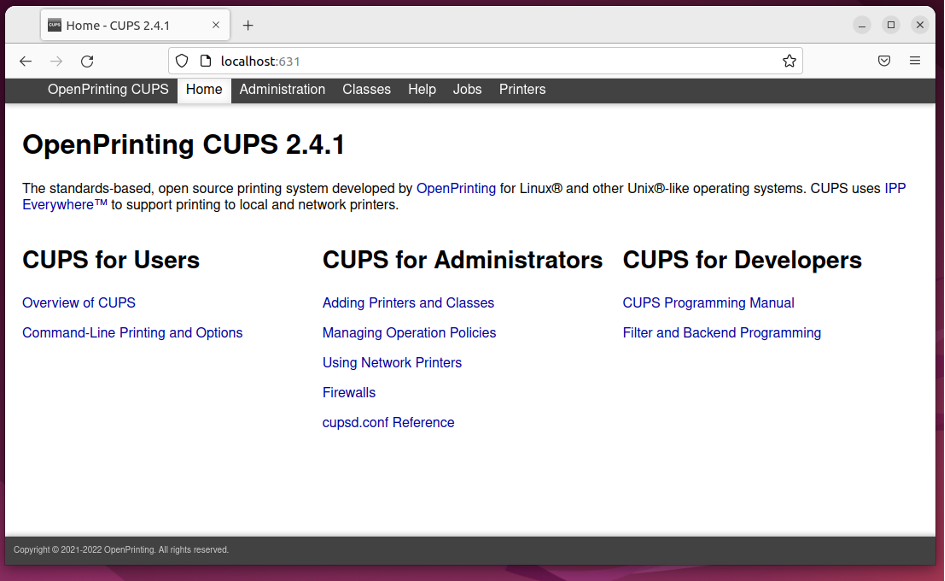
Open the Cups administration console in a browser « localhost :631 »
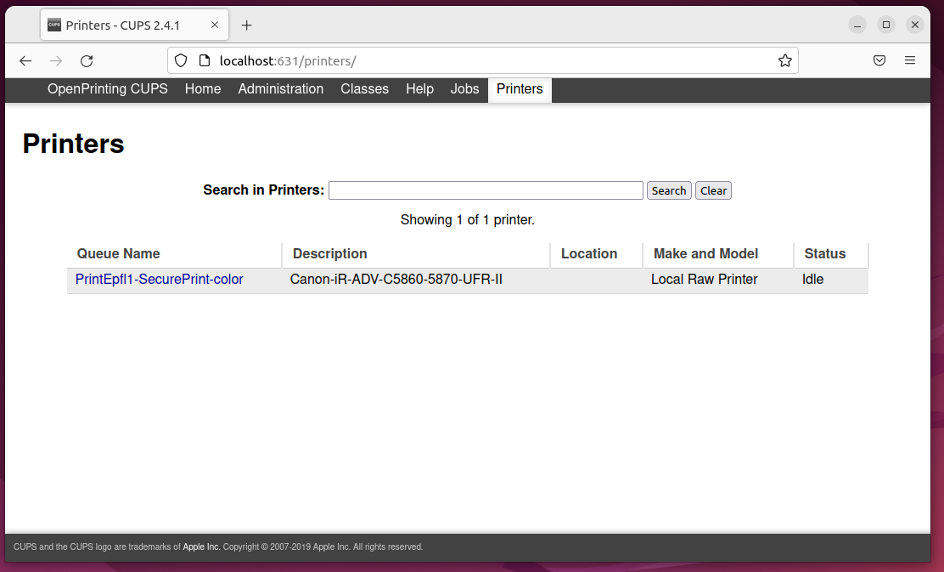
Click on « Printers » Menu
Then click on the Queue Name « PrintEpflX-SecurePrint-color »
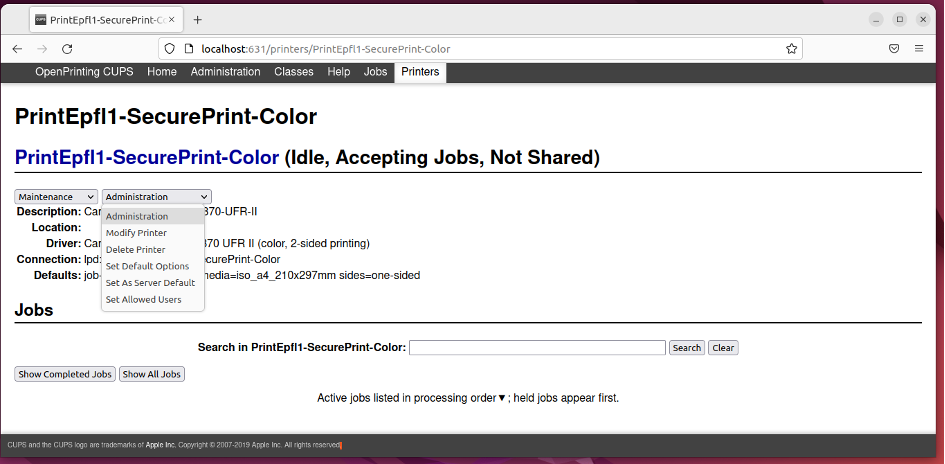
Select “Administration / Set Default Options“
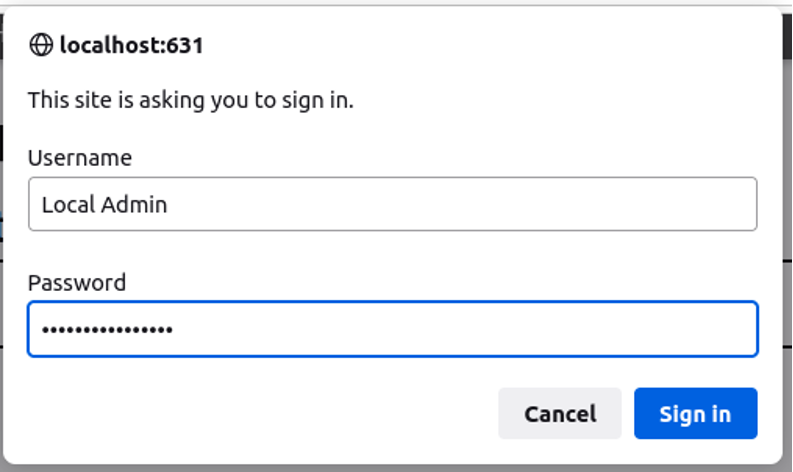
Connect with a local admin credential
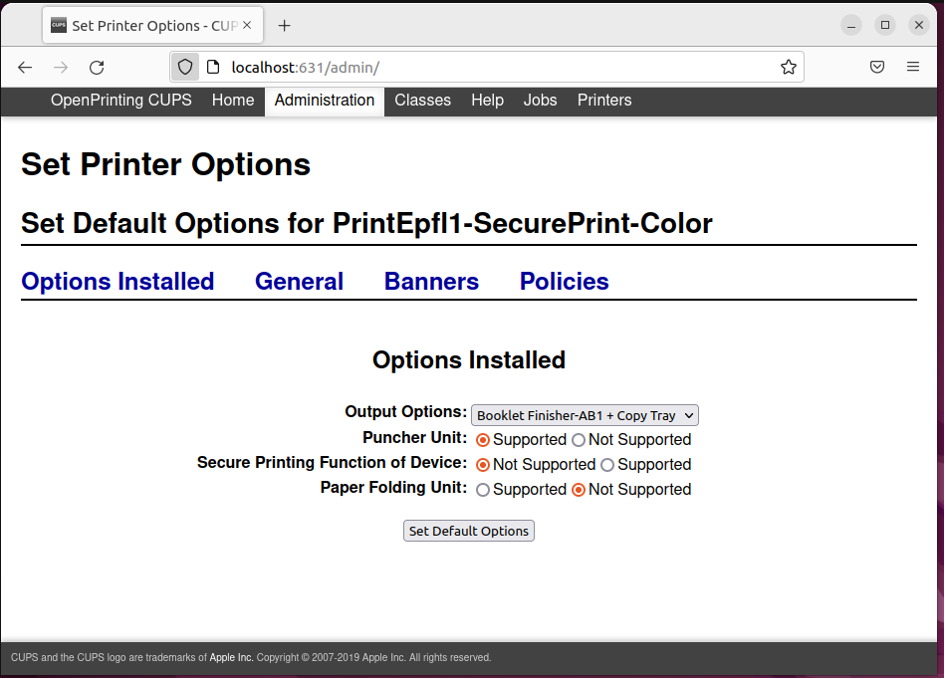
Set this options:
- Output Options: Booklet Finisher-AB1 + Copy Tray
- Puncher Unit : Supported
Click on << Set Default Options >>
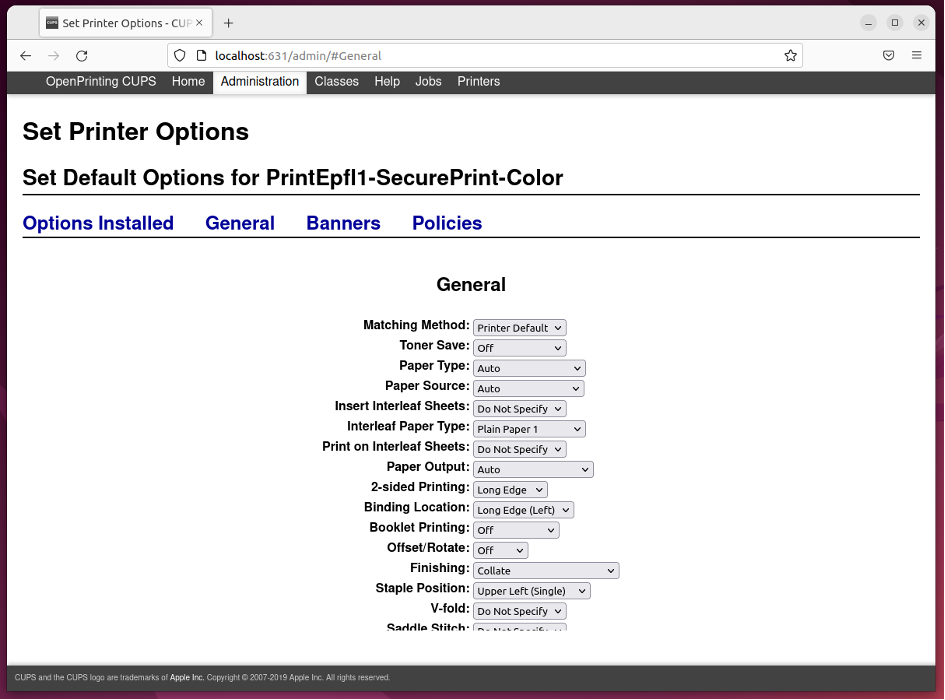
Under General, you can set all the options depending on what you want to do
Exemple : 2-sided Printing => Long Edge
Click on << Set Default Options >>
Your print queue is ready