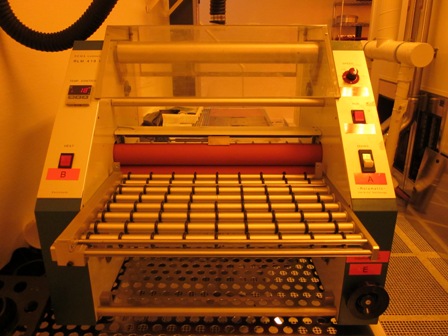
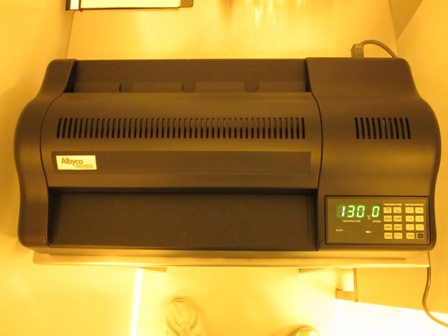
The RLM419 and PhotoPro33 are two hot-roll laminators designed for applying dry film photo-resist sheets to a wide range of materials, such as copper, PCB laminates and stainless steel. They can also apply for quick and easy wafers processing.
Contents
I. RLM419 and Photopro33 features
| Parameters | Values |
| Laminating width max | 400 mm |
| Laminating speed | Up to 1.2 m/min |
| Temperature range | 20 to 199 °C |
| Pressure range | 12 to 36 kg |
The RLM419 laminator, using accurately controlled heat, pressure and speed, also removes the polyester protective film as laminating the dry film.
| Parameters | Values |
| Laminating width max | 330 mm |
| Laminating speed | Up to 1 m/min |
| Temperature range | 20 to 160 °C |
| Pressure range | n/a fixed pressure |
II. The Ordyl dry film
ORDYL dry films are negative tone resists. They are developed and stripped in alkaline solutions. They offer high resistance to plating baths and acid etching processes. CMi offers access to Ordyl 940 and 920 featuring:
| Parameters | Ordyl 940 | Ordyl 920 |
| Thickness | 40 microns | 20 microns |
| Lamination temperature | 105 to 125°C | 105 to 125°C |
| Roller pressure | 2.5 to 3.5 bar | 2.5 to 3.5 bar |
| Hold time max | 7 days | 7 days |
| Exposure dose | 75 mJ | 35 mJ |
| Resolution (lines) | 40 microns | 20 microns |
| Resolution (spaces) | 50 microns | 30 microns |
| Standard developer | Na2CO3 1% | Na2CO3 1% |
| Standard stripper | NaOH 2.5% | NaOH 2.5% |
All details about Ordyl dry film specifications are available HERE.
III. Operation manual
Substrate and dry film preparation
- To achieve a good dry film adhesion, it is absolutely essential to have a well-cleaned and thoroughly dry surface. 5min of oxygen plasma cleaning followed by 20min @ 200°C of dehydration is a good starting point for blank Si/SiO2 substrates. Other treatments may also be applied depending on the nature of the substrate.
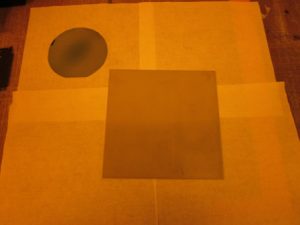
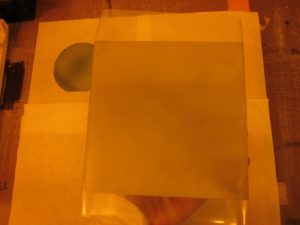
- Prepare a clean working surface (use cleanroom wipers) and one of the aluminum carriers. Cut a piece of Mylar foil and tape it on the backside of the carrier so it is completely protecting the top side of it. Adjust the Mylar foil’s size by cutting it on the edges.
 |
 |
 |
 |
 |
 |
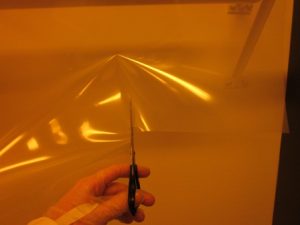
- Cut a piece of dry film from the Ordyl roll so that it is about 2cms longer and wider than the material to be laminated. Here, it is VERY IMPORTANT that the piece of dry film is smaller than the aluminum carrier. This is necessary to prevent sticking to the hot rolls during lamination.
 |
 |
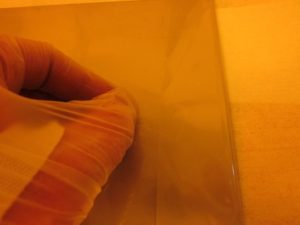
- Using two pieces of adhesive tape, place a piece of tape on either side of one corner of the film, so that they stick to the film, but not to each other. Then pull the two pieces of tape away from each other and one of the polyester protective films will come away.
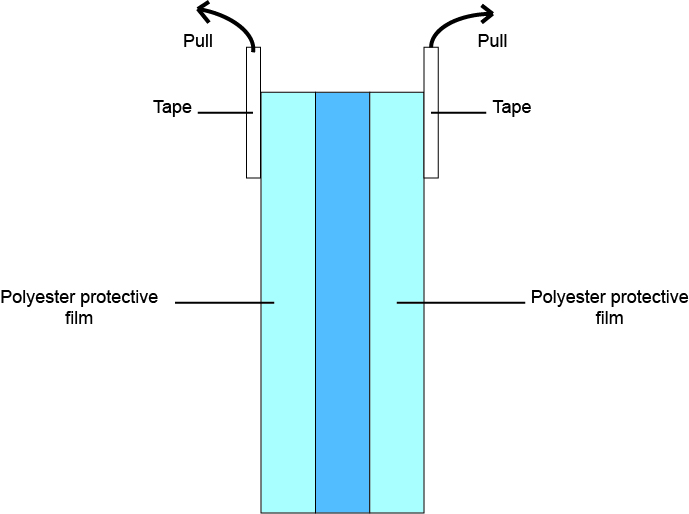
- Remove the protective film completely. Tape the film on the aluminum carrier at the side which will enter the laminator first. Be careful to keep the side where the protective film has been removed free of any dust or particles. Do not touch this side with your fingers! (The side where the protective film has been removed will be in contact with the material during lamination).
 |
 |
Remark: for roll lamination using the REM419 system, please see the documentation available on the tool and ask to persons in charge if needed.
Laminators heating and substrate feeding through
a. Switch the system ON:
– On the backside for the PhotoPro33
– “A” button for the RLM419
b. Select the heating option:
– “Mount” is to be selected on the PhotoPro33, not “Hot”
– “B” button on the RLM419
c. Adjust the temperature set point
d. For the RLM419, adjust the lamination pressure:
Use the “F” wheel on the right side of the system
e. Adjust lamination speed
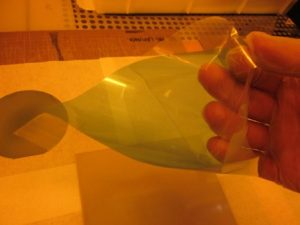
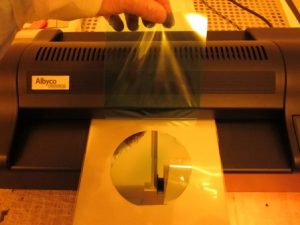
- When the required temperature is reached, feed the ‘aluminum carrier + substrate + dry film’ sandwich squarely into the middle of the rollers and hold the back edge of the dry film with both hands up against the edge of the plastic front edge of the roller cover firmly to ensure film is kept straight as it is going through the laminator.
 |
 |
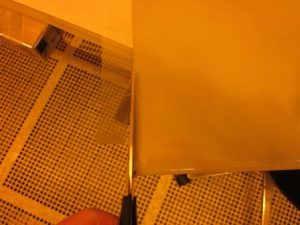
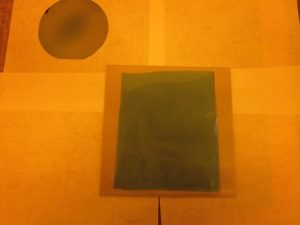
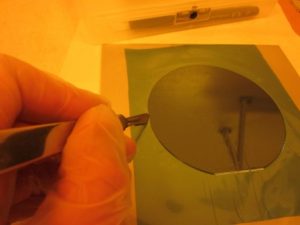
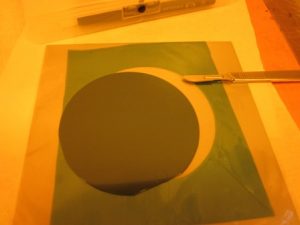
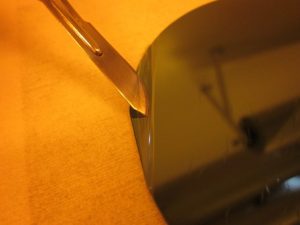
- When the material has exited the laminator, leave it to cool for 2 to 3 minutes. Then taking a sharp scalpel, cut round the edge of the substrate that has been laminated and remove it from the aluminum carrier.
 |
 |
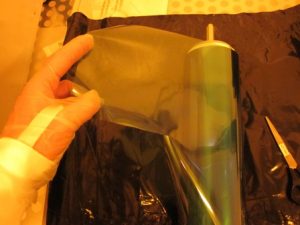
- Keeping the top protective film provides a safe storage until next step of the process (7days max hold time). For UV exposure, it is necessary to keep this protective film in order to prevent sticking to the mask. Any exposing tool available at CMi can be used. It is then necessary to remove the top protective film prior to developing as shown on the following pictures. Development step is done in Z13.
 |
 |
If the dry film is coming away after lamination, exposure or developer, check if:
- the surface of the substrate was properly cleaned and dehydrated
- the laminator was up to temperature
- the exposure was long enough
- the developing step was not too long