Important to know:
- Ethanol is to be asked by email/phone to CMi staff (Patrick Madliger) at least half a day before using CPD.
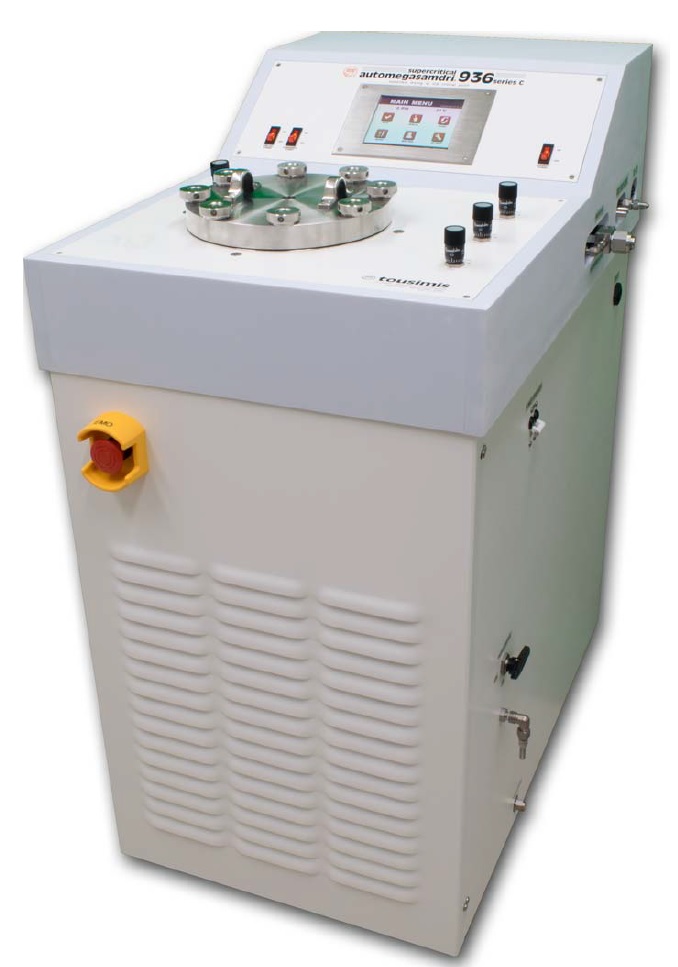
I. Supercritical point dryer
This installation is dedicated for drying freshly released structures with minimum sticking issues (samples are dried at CO2 supercritical point).

At the very beginning, samples are kept into ultra pure ethanol at room temperature. Temperature is then dropped down to 6°C before ethanol is substituted by CO2 is in its liquid phase.
During the HEAT mode, the pressure and the temperature are increased (A -> B -> C) in order to reach the critical phase.
During the BLEED and VENT mode the pressure and the temperature are decreased to reach the gaseous phase (C – > D -> E) without directly crossing the transition liquid to gaz that is responsible for stiction of critical suspended structures.
II. Modus operandi
- Log ON the tool on Zone14 computer and check in grey room at back of the tool that the CO2 bottle is open.
- Turn the chiller ON for at least 30 minutes prior to process run.
- Turn the condenser on.
- Turn the chamber on.
The chamber should be at atmospheric pressure. If not, the system will tell you. Use the VENT valve on screen if needed.
When a pressure of “0 psi” is confirmed, open the lid and carefully place it on a soft surface (clean room tissue) face down
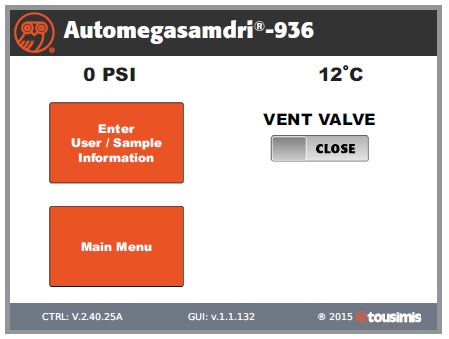
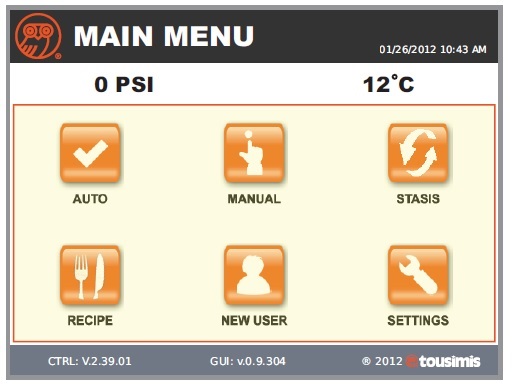
- Enter “User/Sample Information”, if required. If not, press directly “Main Menu” and “Auto” mode.
- Factory Default values may be used or updated from the Auto Mode Setup screen.
- Press NEXT to advance screen and to start “Auto Mode”.
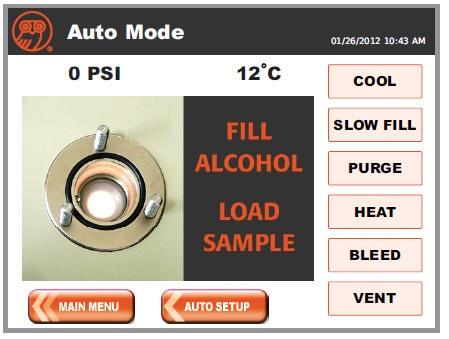
- Introduce ultra-pure alcohol into the chamber. Fill the chamber with sufficient alcohol to cover the samples. NEVER EXPOSE CHAMBER TO ANY ACIDS.
- Carefully transfer the samples into the system process chamber. For best results, minimize exposure time to air.
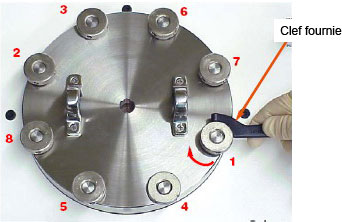
- Carefully lower the chamber lid onto chamber. Initially use fingers to evenly tighten the 8 knurled nuts around the circumference of the chamber lid. Use the spanning wrench provided to uniformly tighten each knurl nut in a “star pattern”. Tighten the knurl nuts in the numbered sequence. Repeat this rotation “star pattern” sequence until the knurl nuts are unable to tighten further.
- Once lid is secure, press COOL button, and follow instructions on screen!