Preliminary and fundamental remark:
- SAFETY OPERATOR MANUAL TO OPERATE ON CMi WETBENCHES (HERE)
Contents
I. Introduction
The baths of the Plade Oxide in zone 2 are arranged as depicted in figure 1.
The baths are filled with different HF mixtures targeting etching of silicon oxide, pyrex or float glass.
Depending on the application, the bath may be fitted with a temperature adjusting system and with a circulating pumping system to activate etching.
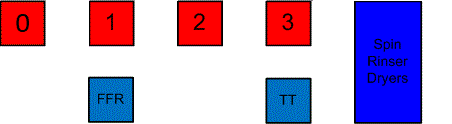
TT: Trickle Tank (fine rinsing)
Figure 1: Schematic of the Plade Oxide bench
| Bath N° | 0 | 1 | 2 | 3 |
|---|---|---|---|---|
| Contents | Diluted HF (1% or 10%, on demand) Static bath, room temperature. Metallics-free (clean bath) | BHF 7:1 Circulating bath, room temperature | BHF 7:1 Circulating bath, room temperature Metallics-free (clean bath) | HF 10% Circulating bath, heating system |
II. Standards at CMi
| Material to etch | Bath N° | Chemicals | Mask | Etch rates (nm/min) | T (°C) |
| SiO2 DUV resist residues post-stripping | 0 Metallics-free (clean bath) | Diluted HF | PR | 5 WetOx (HF1%) | RT |
| Pyrex Float glass SiO2, Al2O3, HfO2 | 1 Not microelectronic compatible | BHF NH4F 40% + HF 50% 7:1 | Cr PR | 77 WetOx 30 Pyrex 70 Al2O3 (ALD) 1.5 HfO2 | RT |
| SiO2 | 2 Metallics-free (clean bath) | BHF NH4F 40% + HF 50% 7:1 | PR | 77 WetOx 86 DryOx 80 Fused Silica 250-300 LAB HRI 225 LTO no densification 120 LTO with densification 262 TEOS no densification 470 PSG 250 SiO2 Spider 167 HTO 329 (PECVD-Oxford N2 diluted) 273 (PECVD-Oxford Ar diluted) 219 (PECVD-Corial fast) 120 (PECVD-Corial low) | RT |
| SiN | 2 Metallics-free (clean bath) | BHF NH4F 40% + HF 50% 7:1 | PR | 140 (PECVD-Corial fast) 98 (PECVD-Corial fast10) 272 (PECVD-Corial fast11) | RT |
| Pyrex Float glass SiO2 | 3 Not microelectronic compatible | HF(49%):H2O 1:4 | Cr/PR Cr/Au/Cr/Au | 380 Borofloat 175 Fused Silica | 25 40 |
III. Modus Operandi
- Login on the Plade Oxide using zone 2 computer
- If applicable, activate the circulating system and the heating system after having checked/changed the set point. If working at room temperature, there is no need to activate the heating system
- Adjust the timer according to the etch rate and the wanted result
- Load the wafers in one of the dedicated Teflon carrier and put the handle on
- Full protection is now required (apron, face shield, chemical gloves) before going further
- Once the wanted temperature is reached, open the lid of the bath and gently plunge the carrier into it
- Start the timer (with clean hand)
- Rinse the gloves and gently clean the bath’s surroundings with a moist paper (several cleanings/rinsings are necessary)
- Wait the end of the etching. Remove the individual protective equipment if waiting time is long. Please fill-in a chemical label to inform other users about your running process
- If needed, get ready with the individual protective equipment a few minutes before etching is supposed to finish
- A buzzer indicates the end; press once on the timer button to stop the buzzer
- Open the FFR lid and gently transfer the Teflon carrier from the etching bath to FFR
- Activate the FFR button
- If applicable, stop the heating system and the circulating system of etching bath
- During FFR, rinse the gloves and gently clean the etching bath’s surroundings with a moist paper (several cleanings/rinsings are necessary)
- When FFR is finished, switch the Teflon carrier to the Trickle Tank TT
- Once resistivity is reached (~12 Mohm.cm), put the carrier in the spin rinser and dryer SRD (the carrier’s handle must be removed)
- A recipe is already selected. Just press STOP and the START
- When the SRD is finished, get the wafers back and put the carrier where it belongs
- Carefully check the cleanliness of the wetbench before taking off the chemical protection (apron, face shield, chemical gloves)
- Perform wetbench logout on zone 2 computer
Any droplets of any kind MUST be removed from the wetbench before leaving it. Suspicious droplets must be cleared using a moist paper (2 to 3 cleanings/rinsings are necessary) and remaining water droplets must be removed with absorbent paper.
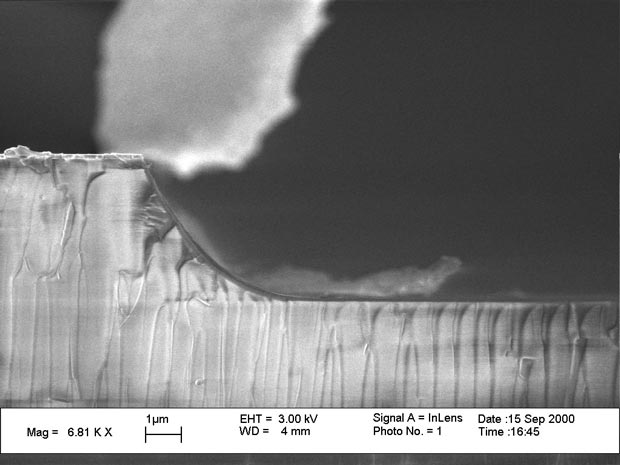
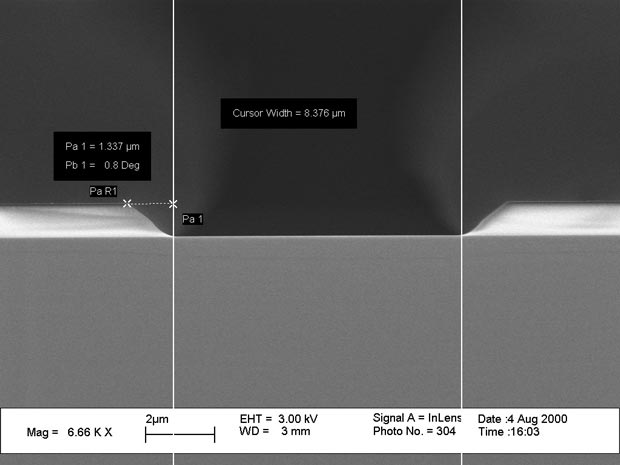
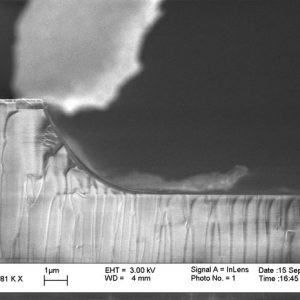
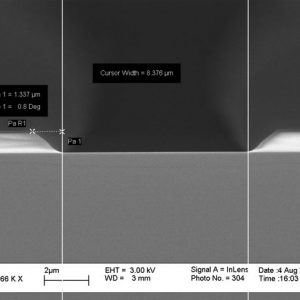
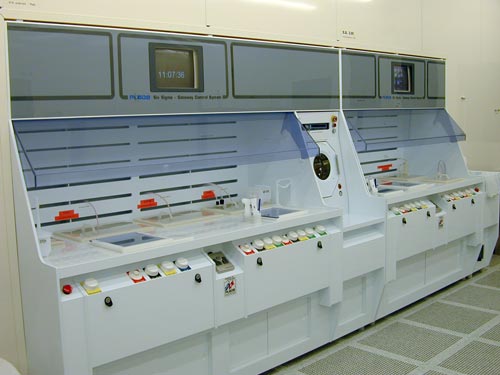
IV. Pictures