Restrictions and Precautions
Some materials are known to be not compatible with the tool:
° Polymers (PR, Quickstick, Tape, …)
° Soda-lime (float glass), Borofloat
° Ge
° Ti, TiN
° Ta, TaN, TaOxide
° Silicon Nitride (subject to exceptions)
Before processing, it is highly recommend to bake the sample (200°C-250°C for 2 min)
1. Maximum allowed booking per person between 9am and 5pm is 2 hours. It is still possible to get 4 consecutive hours from 7am to 11am or from 3pm to 7pm.
2. Reservation names must correspond to operators.
Contents
I. Introduction
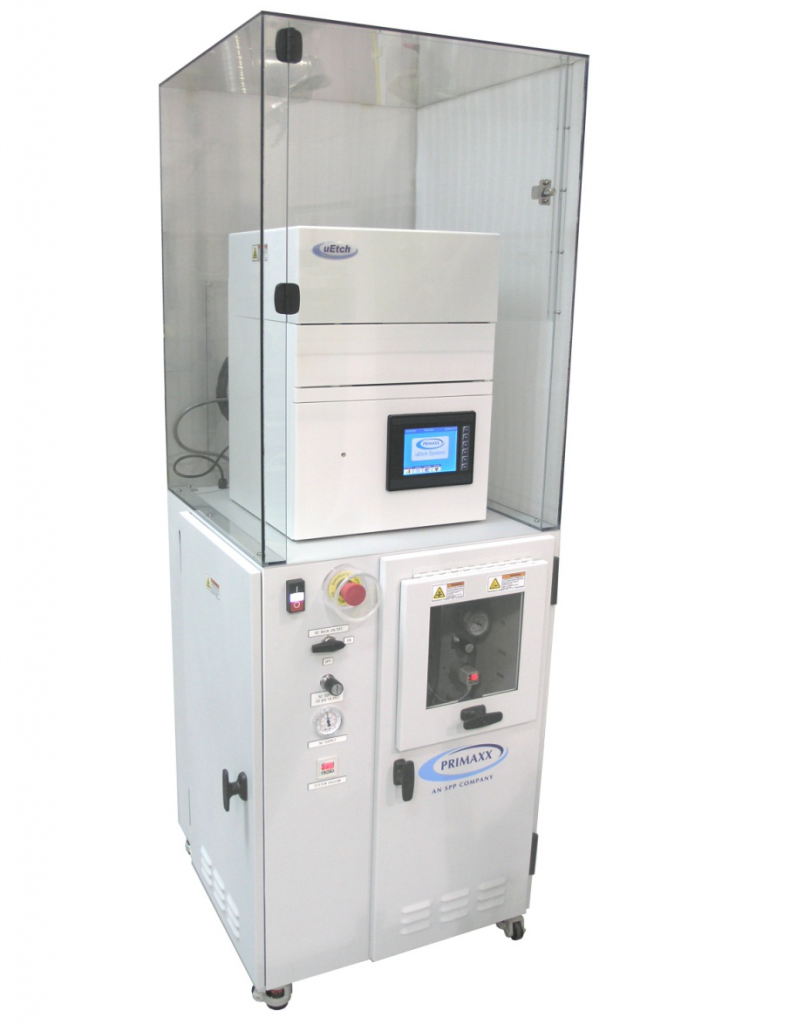
The SPTS uEtch performs a vapor phase; selective, isotropic etch on sacrificial oxide to “release” a device.
The VHF process uses reduced pressure, gas phase, anhydrous HF and ethanol (C2H5OH) to etch sacrificial SiO2 for MEMS release in a non-polluting, vacuum-based system. This produces a clean, residue-free release etch that does not require liquids or supercritical drying. Because no liquids are used in contact with the MEMS devices, by-products are removed in the gas phase, and contamination and stiction-creating conditions can be avoided.
In the etching step, HF gas, ethanol (C2H5OH) vapor and a nitrogen (N2) gas mixture is injected into the process chamber. N2 gas helps transport the mixture to be adsorbed on the surface of the sample.
Chemical ionization of this mixture results in the formation of the active chemical species:
HF(ads) + C2H5OH(ads) → HF−2(ads) + C2H5OH+2(ads)
Reaction with the sacrificial SiO2 on the wafer surface produces silicon tetrafluoride (SiF4) gas and water vapor.
SiO2(s) + 4HF−2(ads) + 4C2H5OH+2(ads) → SiF4(ads) + 2H2O(ads) + 4C2H5OH(ads)
Ethanol (C2H5OH) acts as a catalyst for the etch step and is not consumed in the reaction. Without ethanol, SiO2 etching will not occur. Ethanol also keeps the wafer surface dry which allows the reaction products to be pumped away.
However, water vapor being created, the etching conditions must be wisely chosen and adapted to the device characteristics so that stiction during release, as a possible impact of the generated water, does not happen. HF gas partial pressure in the mixture, as well as total pressure, will directly drive etch rate and therefore the amount of water vapor created per etch cycle. At CMi, choice was made to keep the total pressure fixed (125Torr) and to offer five different standard processes with different HF gas partial pressure.
II. Processes available
| Process name | Pressure (Torr) | Minimum etch rate (nm/min)* |
| Recipe1 | 125 | 12 |
| Recipe2 | 125 | 38 |
| Recipe3 | 125 | 125 |
| Recipe4 | 125 | 153 |
| Recipe5 | 125 | 175 |
*Values are for thermal oxide. Low temperature LPCVD, PECVD, ALD, evaporated and sputtered oxides will etch faster.
III. Operating instructions
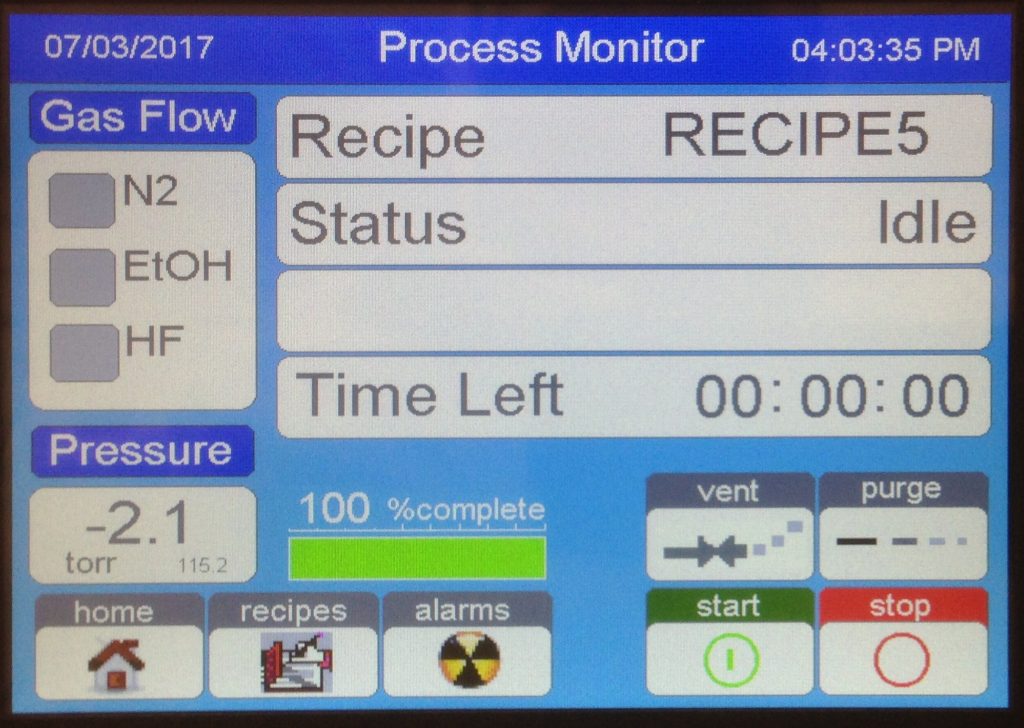
1. System is in Idle mode by default: no wafer is loaded and the chamber is under vacuum.
2. Press “Vent”

3. Reminder: Before processing, it is highly recommend to bake the sample (200°C-250°C for 2 min).
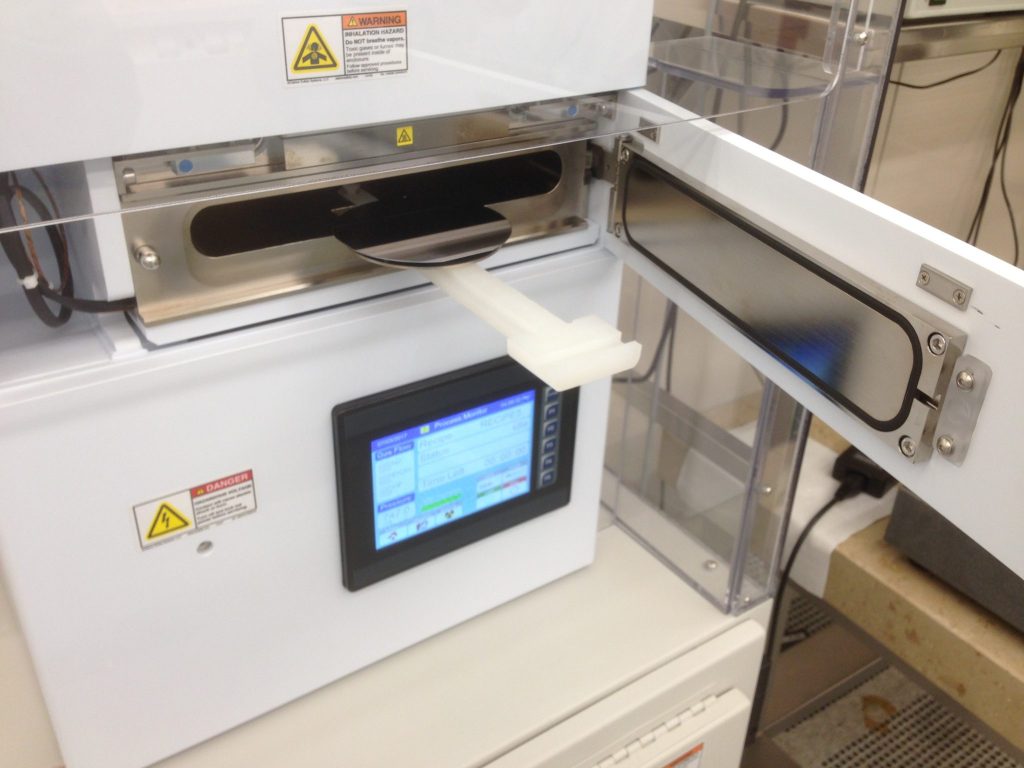
4. Pull on the PVDF arm, load the wafer and close the door.
5. Control the needle valve position
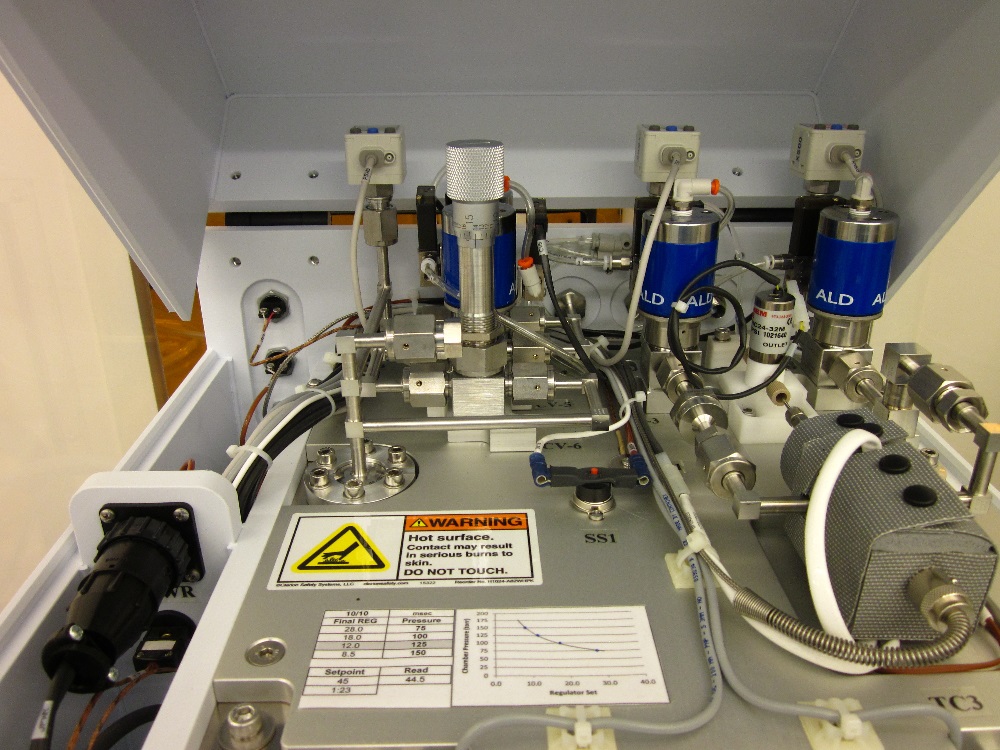
| Needle valve position | Pressure (Torr) |
| 28.0 | 75 |
| 18.0 | 100 |
| 12.0 | 125 |
| 8.5 | 150 |
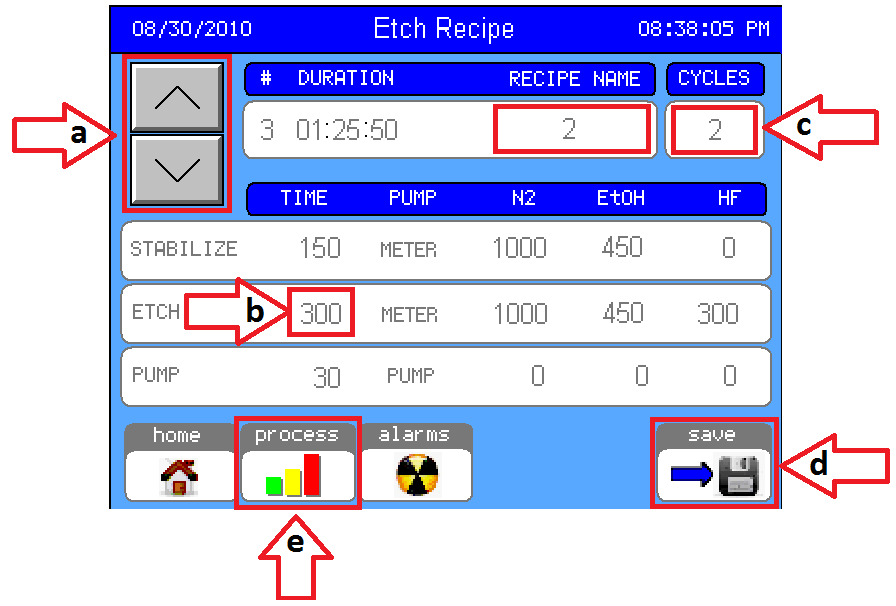
6. Edit the recipe:
-
- Select the recipe.
- Change the duration of the “ETCH” step in sec. The minimal duration recommended is 15 mins to guarantee an optimal etching cycle.
- Choose how many “CYCLES” (= number of repetitions of the the “ETCH” step).
- Save modifications.
- Leave the Edition mode by pressing “process”.
7. Press “Start” to run the process while pressing “Press Here”

8. Check “Time Left”,
9. At the end of the process, press the button “Vent”
10. Open the door and unload the wafer
11. To put back the tool in Idle mode:
- Press “purge” and wait the end (~4 min)
- Once the status is “Wait to vent” and the button “Vent” is blinking, perform equipment logout on zone 02 computer.
12. Fill the logbook.
IV. Photos Gallery
-
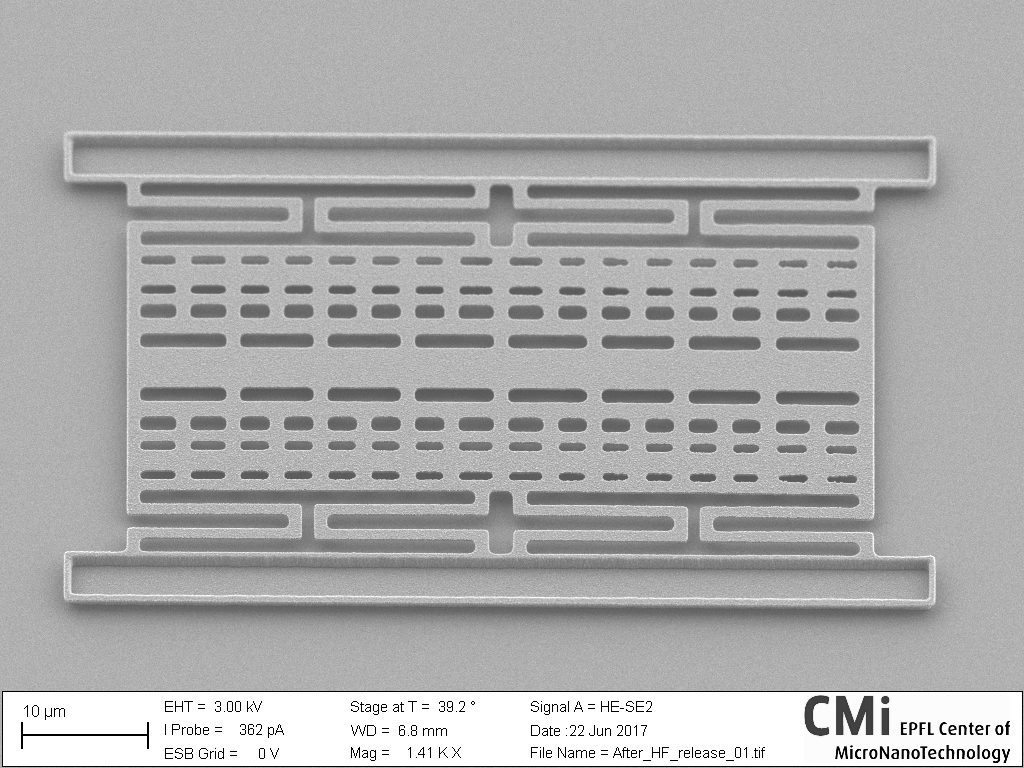
Figure 1: Suspended Polysilicon Membrane (Recipe 5 60 min) – Adrien Toros EPFL | Q-LAB. -
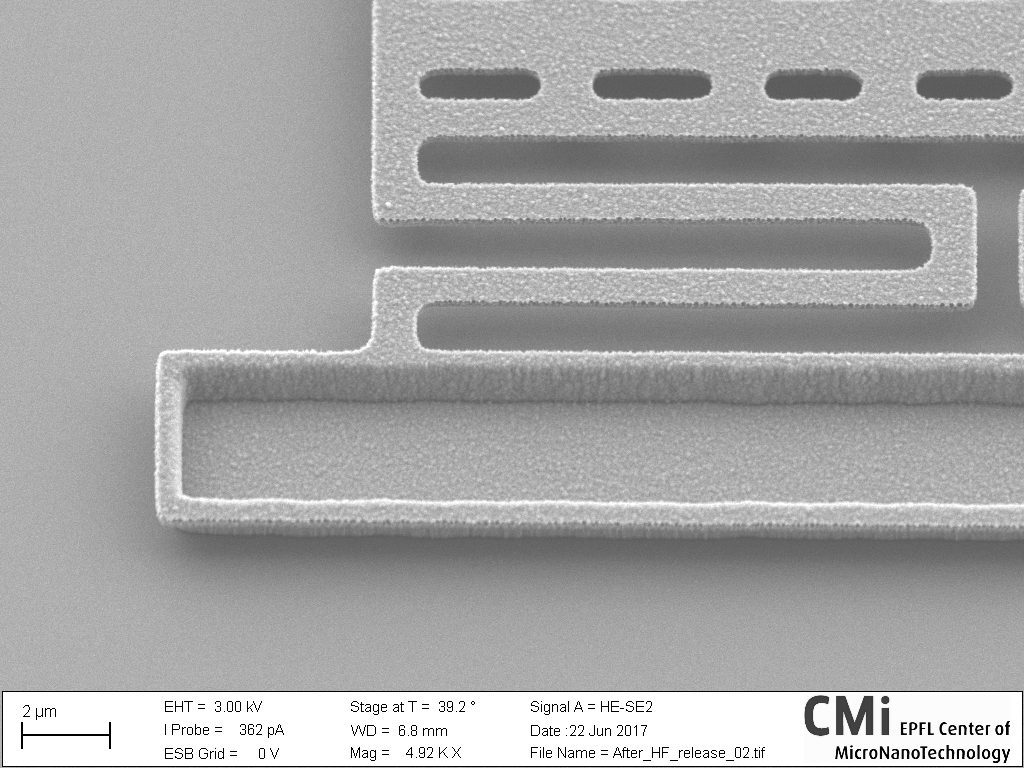
Figure 2: Suspended Polysilicon Membrane (Recipe 5 60 min) – Adrien Toros EPFL | Q-LAB -
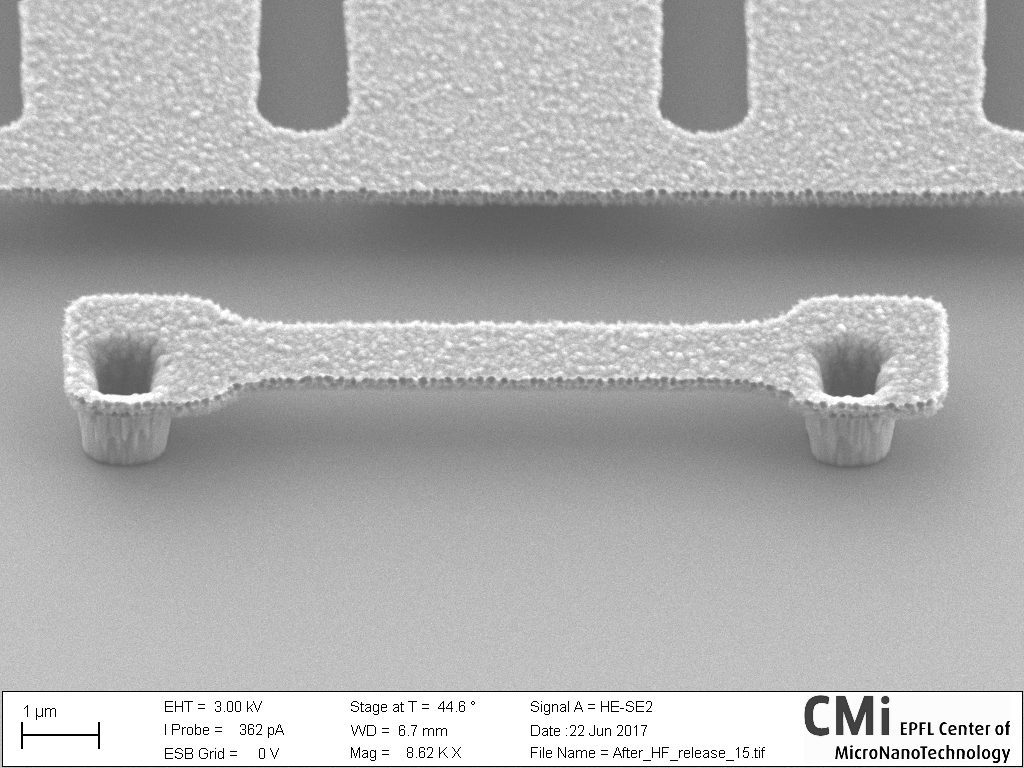
Figure 3: Suspended Polysilicon Membrane (Recipe 5 60 min) – Adrien Toros EPFL | Q-LAB -
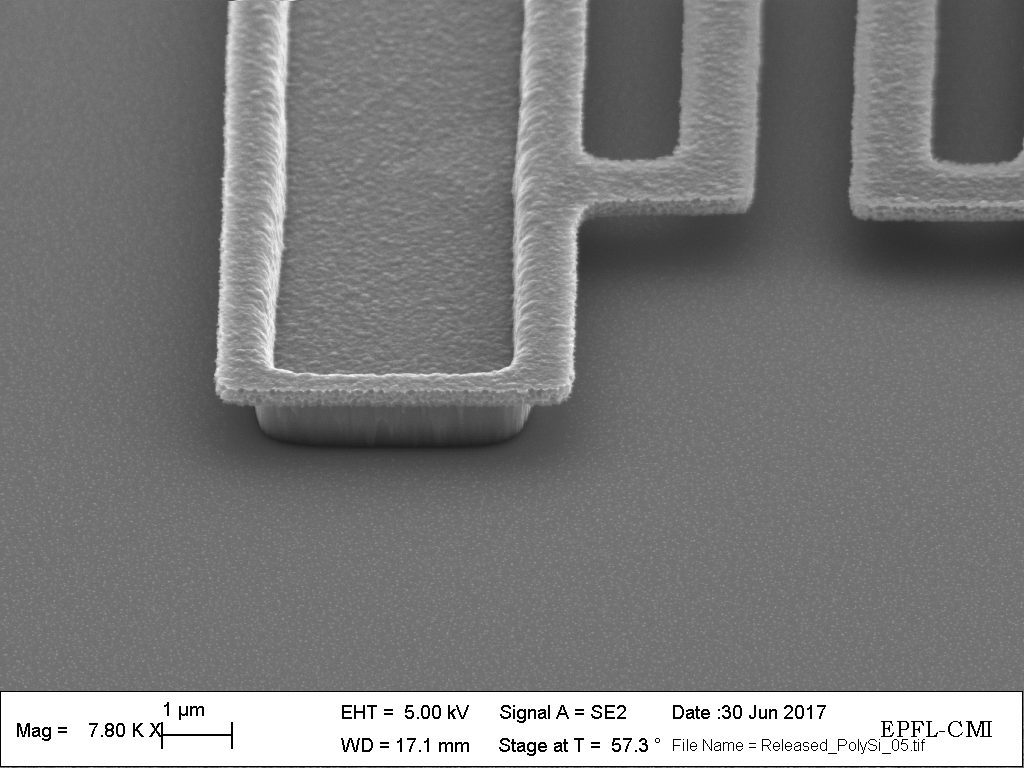
Figure 4: Suspended Polysilicon Membrane (Recipe 5 60 min) – Adrien Toros EPFL | Q-LAB.