Once you have exported your job, you have finished with cjob and you can close it if you want (File>Exit). To expose your pattern on the wafer you will need to run a short script file with the export job file. Running the file from a script like this gives you a lot of flexibility. It means that you can run the same job on different wafers or the same wafers in different positions. From inside your jobs directory you should open Kate (the text editor) and then open the file batch_job (this file exists in every user’s jobs directory).
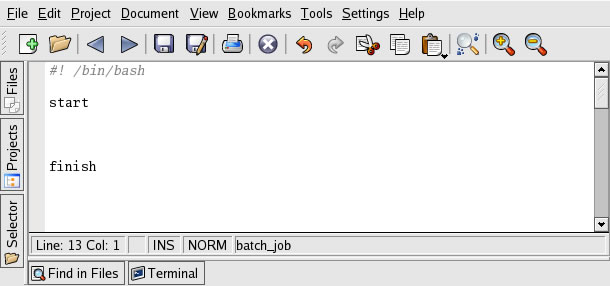
The batch_job script. The command (s) to expose your job (s) are given between start and finish.
Command syntax:
job myjobname [positionreference] holderid cassetteposition [x,y]
myjobname= your exported job name with the .job extension
[positionreference]= reference point for the reference position of your process (for a wafer this is almost always the center of the wafer, for a piece part this is normally the Faraday cup)
-c : holder center (default)
-f : Faraday cup
-m : holder marker
holderid=the number of the holder your substrate is on (4,5,13,14)
cassetteposition=the position of your holder before the job is run
0=holder already on the stage
1=holder in slot 1
2=holder in slot 2
[x,y]=the position from the reference point to the process starting position (0,0=default)
Here the reference position is the position the ebeam goes to and performs its first action.
For an exposure without alignment this is the reference position of your exposure. Your job will be exposed relative to the reference position using the offsets you’ve defined in Cjob. i.e. if the reference position is the center of the wafer then the positions you’ve defined in cjob will be added to this when exposing your job. When you’re using wafers on a wafer holder (50mm, 100mm etc.) the ebeam automatically knows where the center of the holder is, when using piece parts, however, the center of your piece is not known and you need to tell the ebeam the reference position of your exposure normally we give this as the distance between the Faraday cup on the holder you’re using and the center of your sample.
For an exposure with alignment the first thing the ebeam will do is to locate a marker, and the position reference tells the ebeam where to find this first marker. This position should always be the position of a pre-alignment mark and we normally measure this from the Faraday cup on the holder you’re using.
Examples for running non-alignment jobs
job cjob_non_alignment-example_1 4 0
holder 4, holder on the stage, process (exposure) started at the holder center
job cjob_non_alignment-example_1 -c 4 0 0,0
same as previous example because -c and 0,0 are default values
job cjob_non_alignment-example_1 -f 5 1 75mm,112mm
position relative to the faraday cup, holder 5, holder in slot 1, process (exposure) to start at 75mm,112mm relative to the faraday cup. This would typically be the way to define a non-aligned job on the piece part holder.
Examples for running alignment jobs
job cjob_alignment-example_1 -f 4 0 24.5mm,33.3mm
position relative to the Faraday cup, holder 4, holder on the stage, PAM is 24.5mm,33.3mm from the Faraday cup
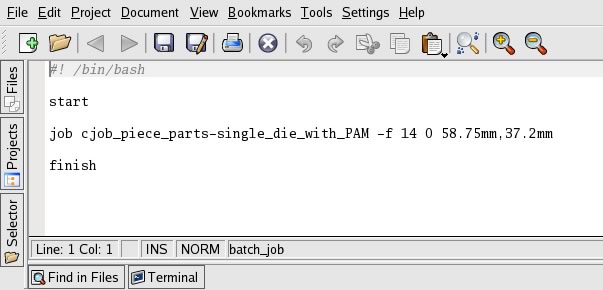
Batch file for running the alignment example on a piece part holder 14. Here the position 58.75mm,37.2mm is the approximate position of the PAM (pre-alignment mark) from the Faraday cup.
Running the batch_job
Once you have a batch_job file like this done you can run it from the command line by typing batch_job.