Resources for the EPFL community
This page directs you to information and resources about the various services offered for EPFL students and staff.

Guides for administrative management
View our guidelines for EPFL’s administrative procedures and applications, such as IS-Academia, SESAME, managing access rights, Gaspar, Polycontrat, Chronos and e-recruiting.
 de l’EPFL")
Audiovisual services
Through our AV services you can rent equipment and get technical assistance and advice.

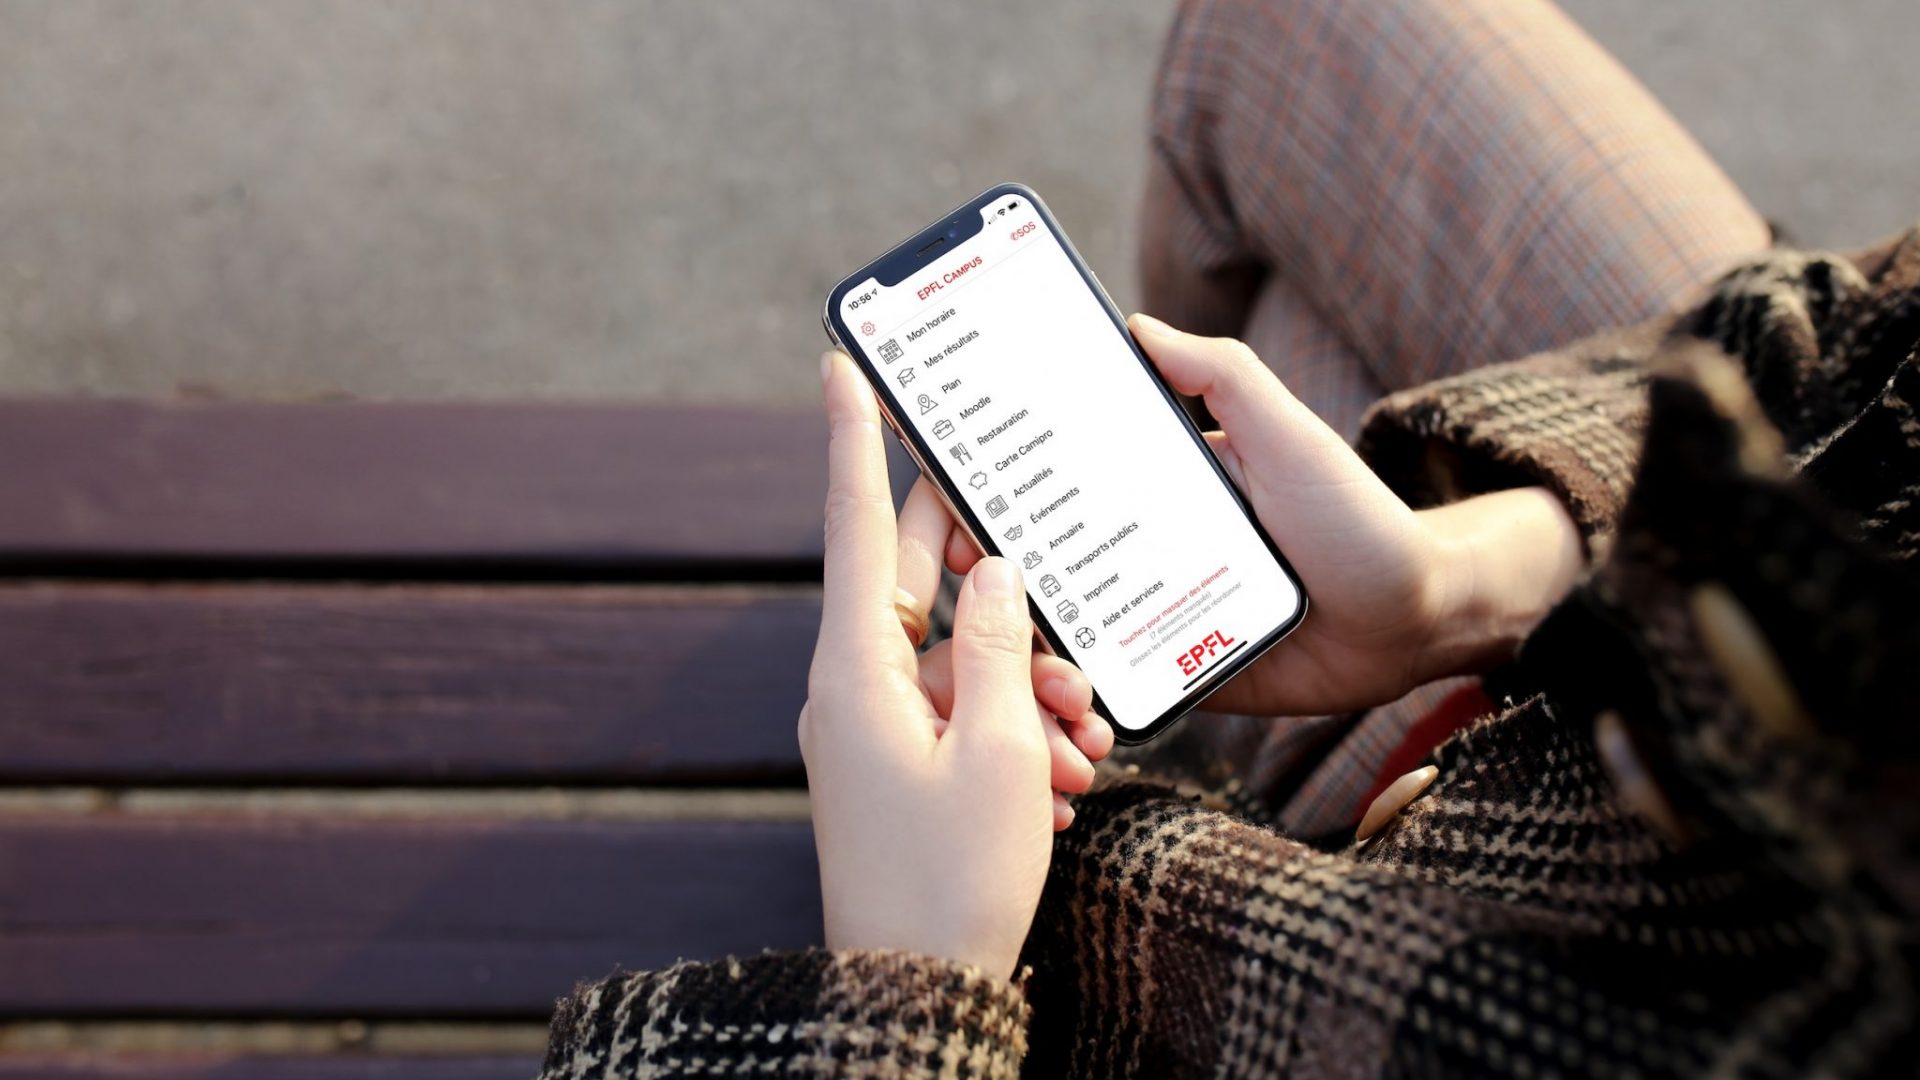
Camipro card
Learn more about the features, benefits and services included with your Camipro card.

Communications
Explore the options available for communicating information within our School or to the broader public.

Equality
Childcare solutions, legal advice during pregnancy, ddual career support, … find all the information about projects, courses, seminars, coaching, mentoring, etc.

Finances
Check out the many tools and guidelines designed to help you manage EPFL-related finances.

Housing
Learn about the different housing options available in the Lausanne area and about administrative matters you’ll need to take care of.

Internal trainings
View the list of in-house training courses currently available to EPFL employees.

IT services
Find out how to get tech support or other IT services; you can also access our range of guides and applications.
Organizing an EPFL event
Steps, deadlines, regulations… everything you need to know to organize an event at EPFL!

People Experience and Operations VPH
Information on administrative procedures, remuneration, social insurance, and the recruitment process, along with resources to support staff in managing their work life and career development.

Personal Data Protection
Information about personal data protection, such as definitions, key principles or rights you can exercise as natural person.

Purchase management
Learn about our procedures for purchasing, inventory management and invoicing.

Real estate and logistics
Click here if you need to submit a request concerning specific facilities, get furniture, report a problem, or obtain information about caretaking, mail or office-supply services.

Repro–Print Center
Get information about our printing center, which offers digital, offset and large-format printing as well as binding and graphic design services.

Respect
Are you a victim of harassment? Find out where to get help or report a case. See also the catalog of training sessions about respect.

EPFL websites
Find out how to create an EPFL website, get assistance with web-related issues and use our website applications (like our people and news pages).