- Add the Image block
- If the image is in the media library, go to point 3, otherwise …
- Click on the Upload button
- Locate the desired file and click on open.
- Click on Media Library to choose an image.
Note: Most of the settings available at this step are also available directly in the page. We explain them below.
Image settings
WordPress has multiple tools and settings for displaying an image. These settings are sometimes redundant and available in different ways.
For example, some are available via the Block tab in the right-hand column, others via the toolbar that is displayed by selecting the block.

Image size
The size of an image can be adjusted in 3 various ways. We describe them below.
1 – Image size
It is important to keep in mind that the EPFL’s graphic charter imposes certain restrictions on the size of images. In fact, some settings available in this block do not have any visual effects.
- Click on the image to select it
- Make sure the Block tab is active, if not, click on it.
- In the Image size section, click on the drop-down menu and choose one of the 4 options
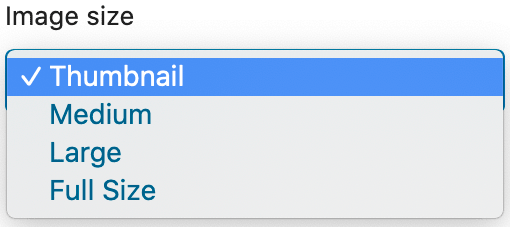
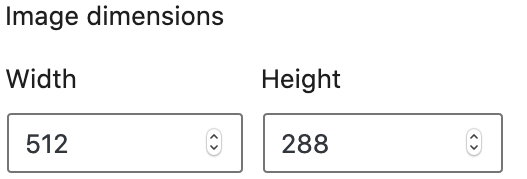
- The size of the image is then displayed in the Image dimensions section.
Note: The width of the column is 570 pixels. So even if the dimensions indicated are larger, the image display will be proportionally reduced to 570 pixels.
2 – Image dimensions
- Click on the image to select it
- Make sure the Block tab is active, if not, click on it.
- In the Image dimensions section, modify the width and height (the 2 values are not linked, modifying one does not adapt the other).
or
Note: The image size indicated via Image size is reduced. Also in this case, if the indicated dimensions are larger, the image display will be proportionally reduced to 570 pixels.
3 – Cropping the image
It is possible to crop the image, i.e. to change the Width / Height ratio.
- Click on the image to select it
- In the toolbar click on
 a grid is displayed on the image.
 - Then click on
 and in the drop-down menu, choose one of the proposed cropping ratios.
 - Then click Apply to confirm or Cancel to cancel.
Aligning an image
- Click on the image to select it
- Then click on
 in the toolbar.
 - Choose the alignment from the drop-down menu.
Rounded corners
To display an image with rounded corners, proceed as follows
- Click on the image in the Block tab, Styles section, click on Rounded
or - Click on the image and then in the toolbar
Note: If you want the images added to the page to be automatically displayed with rounded corners, choose Rounded from the Default style drop-down menu.
Link on a image
- Click on the image to select it
- Then click on
 in the toolbar.
- Link to a page on your site: The easiest way is to enter the first letters of the page title. But in fact you can enter any text on the page. Press Enter
- Link to an external site: Enter or paste the address (URL) of the site. Press Enter
- Media File: To display the image alone in a window.
- Attachment File Page: To display a page containing the image and other information.
Other settings
Caption
Add a caption by clicking on the text Write the caption… If you do nothing, no text will appear below the image when it is online.
Alt text (alternative text)
Description used for accessibility for the visually impaired and by search engines
Make sure the Block tab is active, if not, click on it. In the Image settings section, fill in the Alt text field.
Replace the image
There is no need to delete the block to replace one image with another. Proceed as follows:
- Click on the image and then on
- Then click on Open Media Library or on Upload.
- Click on the Select button.
Example
